Create barcode labels for your inventory items.
- From the Main Menu, select Admin -> Setup - Inventory -> Barcode Labels.
- Your screen should look similar to this:
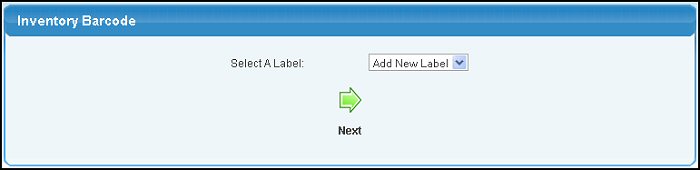
- Select A Label: Choose and existing label to edit or add a new one.
- Click
 Next to continue and your screen should look similar to the following: Next to continue and your screen should look similar to the following:
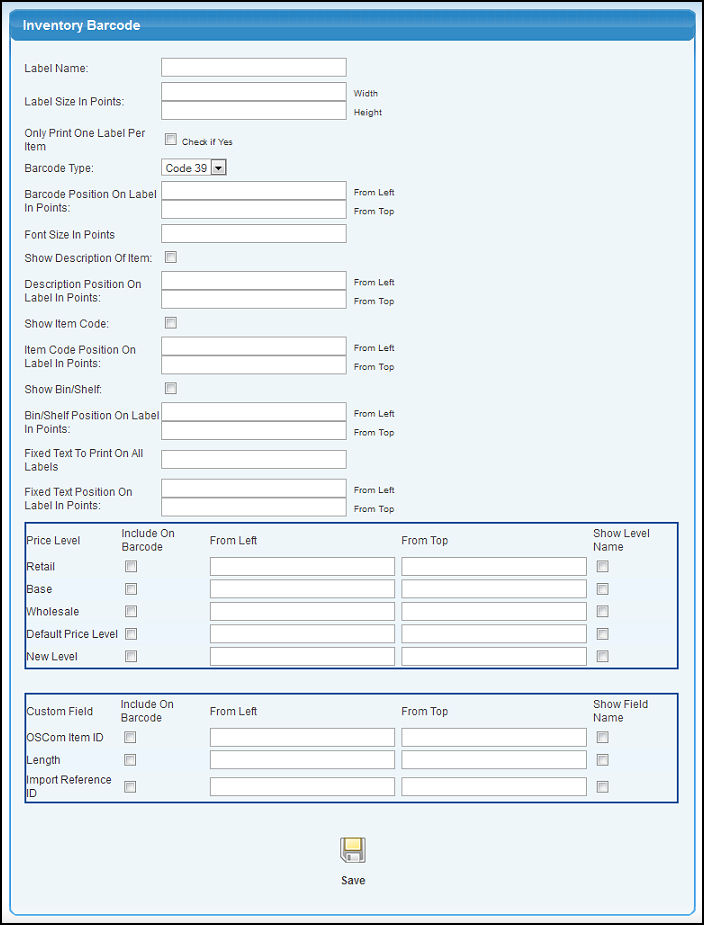
Note: 72 Points= 1 Inch
- Label Name: Enter a name for your label.
- Label Size In Points: Enter the Width and Height you would like your label to be in the designated boxes.
- Only Print One Label Per Item: Check this box to only print one label per item, otherwise a label will print for the quantity of each item you are ordering on the purchase order screen.
- Barcode Type: Choose either the Code 39 or EAN 13 barcode type. The Code 39 barcode type supports 43 characters including letters, numbers and several special characters. The EAN 13 barcode type supports 13 numeric digits.
- Barcode Position On Label In Points: This is the position the barcode will be on the label. Enter the distance in points from the top of the label and from the left side of the label in the designated fields.
- Font Size In Points: Enter the font size for the label in points.
- Show Description Of Item: Check this box to show the item description on the label.
- Description Position On Label In Points: If you checked the above box to show the description, enter the position in points from the top and left side of the label.
- Show Item Code: Check this box to show the item code on the label.
- Item Code Position On Label In Points: If you checked the above box to show the item code, enter the position in points from the top and left side of the label.
- Show Bin/Shelf: Check this box to show the bin/shelf location on the label.
- Bin/Shelf Position On Label In Points: If you checked the above box to show the bin/shelf location, enter the position in points from the top and left side of the label.
- Fixed Text To Print On All Labels: If you would like fixed text to print on all labels, enter it here.
- Fixed Text Position On Label In Points: If you have entered fixed text in the above field, enter to position in points from the top and left side of the label.
- Price Levels/Custom Fields: For each of the price levels and custom fields you have defined, the following can be specified:
- Include On Barcode: Check this box to include the price level on the barcode.
- From Left/From Top: Enter the position from the left and top of the label you would like this price level to appear.
- Show Level/Field Name: Check this box to include the price level name or the custom field name on the label.
- Click the
 Save button to save your changes. Save button to save your changes.
Print the barcodes from the last screen of New Purchase Order or Edit Purchase Order.
|