Send messages to any other NolaPro user within your company, or send to everyone. User must select that they have read the message to make it go away forever. Messages can contain graphics as well as text.
- From the Main Menu, select Admin -> Admin Setup -> Internal Messaging.
- Your screen should look similar to this:
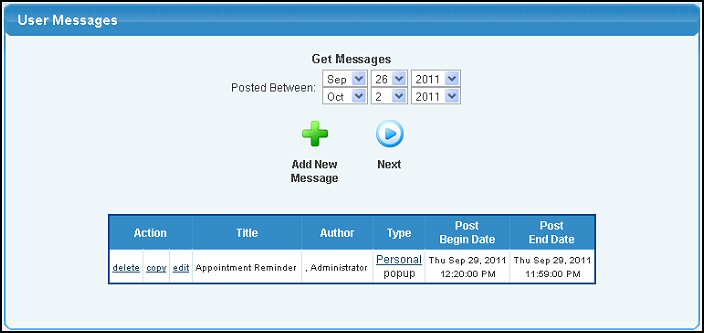
- From here, you can add a new Message by clicking the
 Add New Message button or Edit an existing Message by clicking on the Edit button next to the appropriate message. Add New Message button or Edit an existing Message by clicking on the Edit button next to the appropriate message.
- You can also COPY an existing message into a new message as a starter, or delete the message altogether.
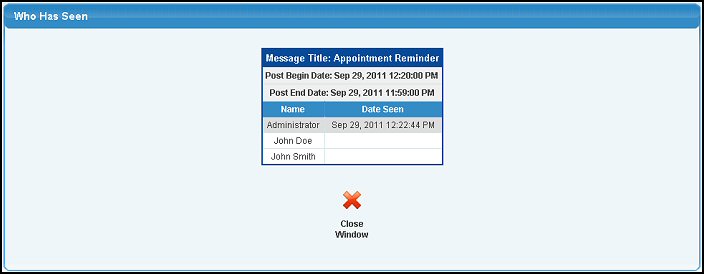
- Clicking on the message type (Personal or General) will show a list of who has said they viewed the message. This screen appears as follows:
- If creating a new message or editing an existing message, your screen should look similar to this:
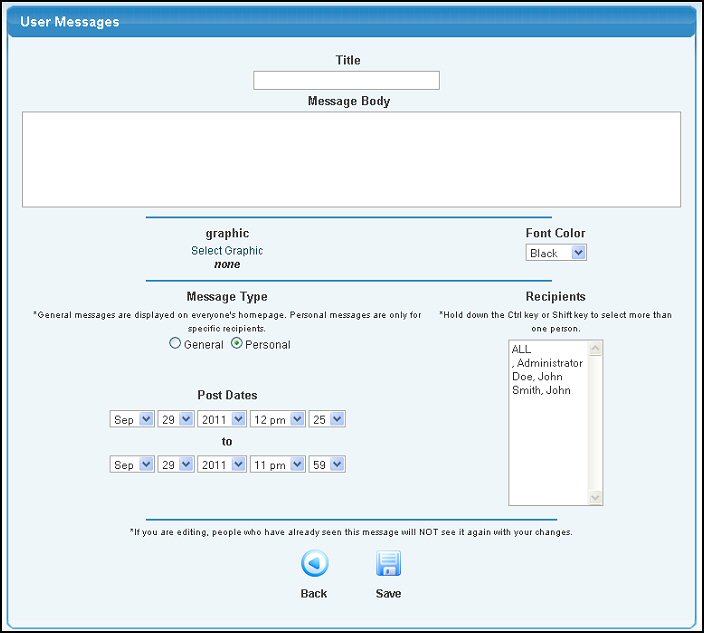
- Title: The title area will appear at the top of the message.
- Message Body: The main message text.
- Select Graphic: Click on the Select Graphic words to select a picture from your files. This will bring up the graphic selection screen:
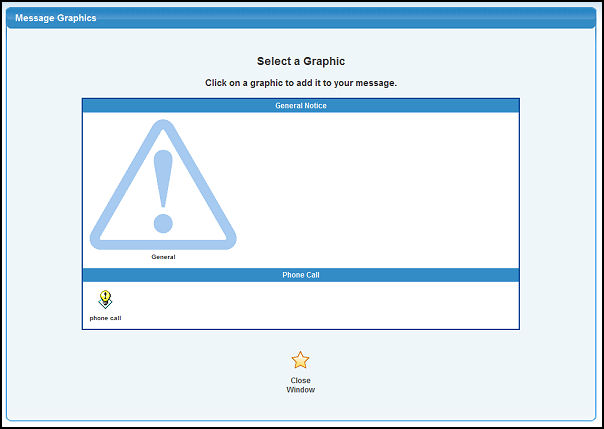
Click on the graphic you want to use, and the screen will close and display your graphic on the edit page.
- Font Color: You can select a color for the message.
- Message Type: Personal messages keep displaying on every page until the user claims to have seen the message (checked the box that says they have seen it). General messages only display once per log in session for the user.
- Recipients: Select one or more (or ALL) users who should receive this message.
- Post Dates: Enter beginning and ending dates when this message should be displayed.
- Save: Click this button to save and send the message.
- Back: Click this button to return to list without saving the message.
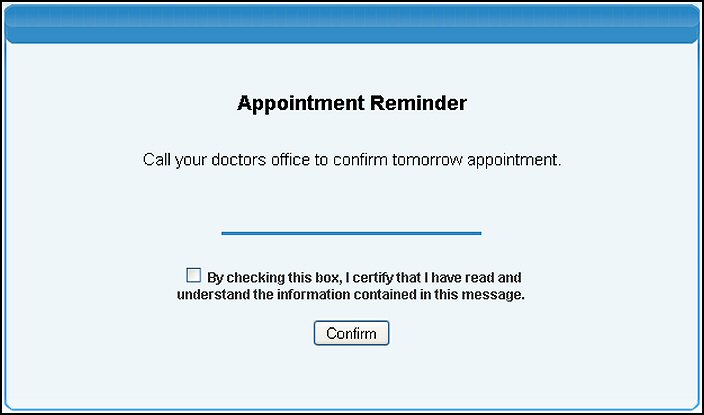
SAMPLE MESSAGE
|