Select graphics that can be used when sending messages.
- From the Main Menu, select Admin -> Admin Setup -> Message Graphics.
- Your screen should look similar to this:
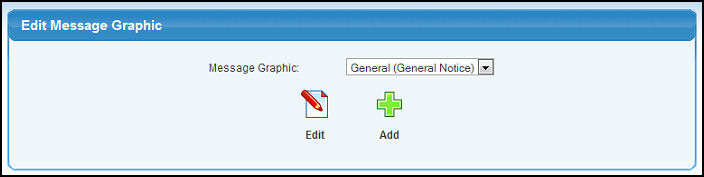
- From here, you can Add a new message graphic by clicking the
 Add button or Edit an message existing graphic by clicking on the Add button or Edit an message existing graphic by clicking on the  Edit button after selecting the graphic to be edited in the dropdown list. This screen appear for either add or edit: Edit button after selecting the graphic to be edited in the dropdown list. This screen appear for either add or edit:
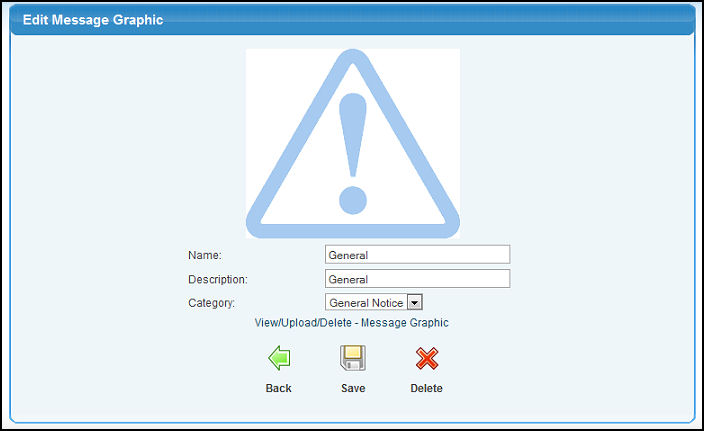
- Name: Short name for the graphic.
- Description: Longer description of the graphic.
- Category: Pick a category from the drop-down list. If you see none, you may need to create these categories first. The function of categories is to make certain types of graphics more identifiable as being for "Telephone Calls" or "Urgent Job Changes" or whatever seems most useful.
- View/Upload/Delete - Message Graphic: Click here to change or add a graphic for this entry. If you already have a graphic selected, it will appear above the Name and Description fields. If you click here, a screen will pop up:
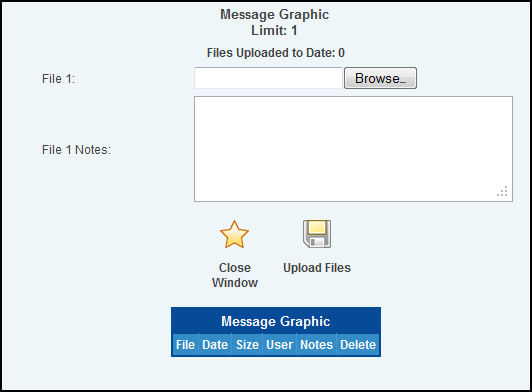
This is the standard file upload screen, and the explanation for this can be seen in the Getting Started Section or in Attaching Files in the Related topics section.
|