Create a company and maintain the information for that company. Enter more than one company ONLY if you intend to keep two entirely separate sets of accounting books, inventories, etc. If you simply have multiple locations, you will enter that under Admin -> Setup-Inventory -> Plant Locations.
- From the Main Menu, select Admin -> Admin Setup -> Company New/Edit. You can add or change companies from this screen.
- Your screen should look similar to this:
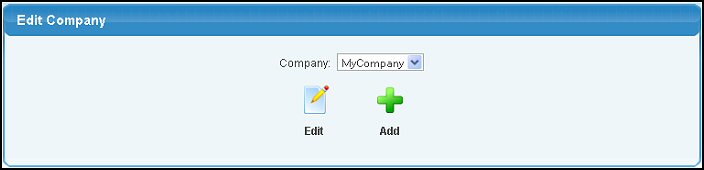
- To edit, select the Company you would like to edit from the Company drop-down box.
- Click the
 Edit button to edit the selected company, or click the Edit button to edit the selected company, or click the  Add button to add a new company. Your screen should look similar to this: Add button to add a new company. Your screen should look similar to this:
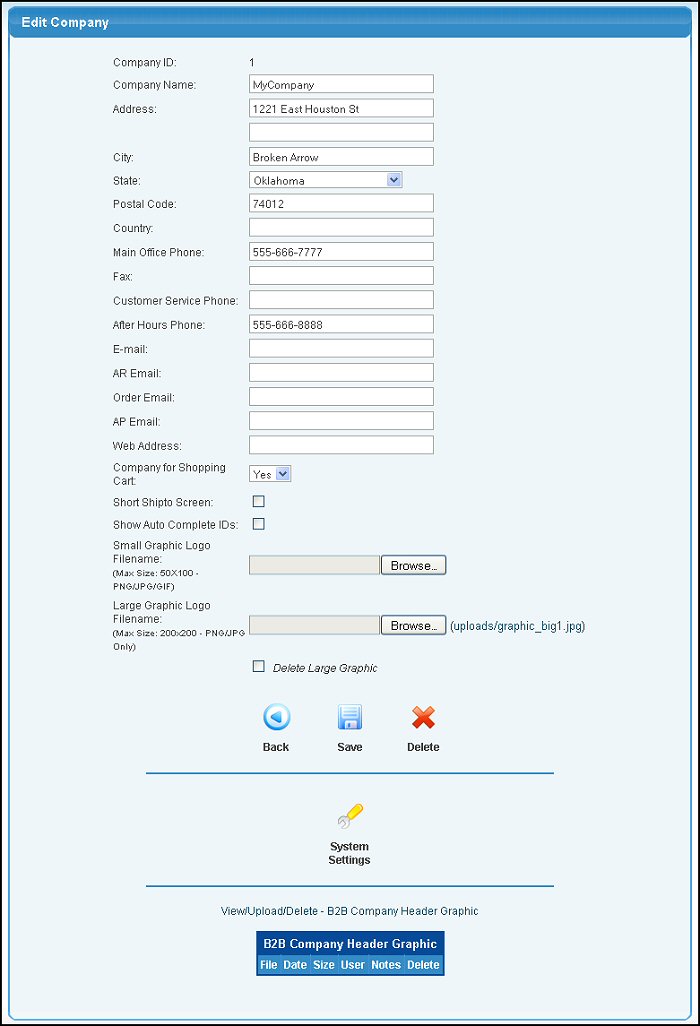
- Change or add the following company information:
- Company ID: This field cannot be changed. If you have the vTiger integration this ID is needed during the setup process.
- Company Contact Information: (Company Name through Web Address): Enter contact information as shown. States/provinces are defined under Admin -> Admin Setup -> States.
- Company for Shopping Cart (Yes/No): If you want your customers to make purchases for Inventory Items in a shopping cart for this company, select Yes.
- Short Shipto Screen: Removes some fields from the ship-to screen, such as the Phone and Email fields.
- Show Auto Complete IDs: Checking this box displays and ID box for auto complete fields such as Customer and Item. This allows you to use an ID number instead of entering the name.
- Small Graphic Logo Filename: You can upload a small graphic that will be displayed in all the headers. Use the Browse button to find the file.
To change the graphic, you must first remove it placing a checkmark in the Delete Small Graphic box and then click the  Save button. Then select the new file. Save button. Then select the new file.
- Large Graphic Logo Filename: You can upload a larger graphic that will be displayed on forms. Use the Browse button to find the file.
To change the graphic, you must first remove it placing a checkmark in the Delete Large Graphic box and then click the Save button. Then select the new file.
- To return to the previous screen WITHOUT SAVING your changes, click the
 Back button. Back button.
- To save your changes, click the Save button.
- To delete a company, click the
 Delete button. Delete button.
- Click on the
 System Settings button for additional settings. See System Settings in the Related topics section at the bottom of this screen for more information. System Settings button for additional settings. See System Settings in the Related topics section at the bottom of this screen for more information.
- B2B Company Header Graphic: Attach a graphic to display on the Home Page of your B2B site. Click on Attaching Files in the Related Topics section of this Help screen for instructions on using this feature.
- B2B Company Print Logo: This field (not shown here) is for use with the NolaPrint module only.
NOTE: When you add a new company, all the basic information (gl accounts, etc) will copy from the company you are currently logged into. So make sure all general ledger tie-in data is complete in the current company. The first time you select the new company you may need to run through the preliminary setup functions.
|