|
|
In many places within NolaPro® you can attach documents to the customer, to an invoice, to an order, to a vendor, etc. These attachments are all done in the same way:
- The attach dialog will usually appear at the bottom of the page of data it will be associated with.
- It will look like this when nothing has been attached yet:
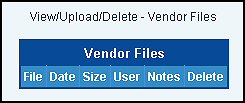
- To begin the attaching process, click on the words "View/Upload/Delete" at the top of the attach dialog area. This will bring up a pop-up that looks like this:
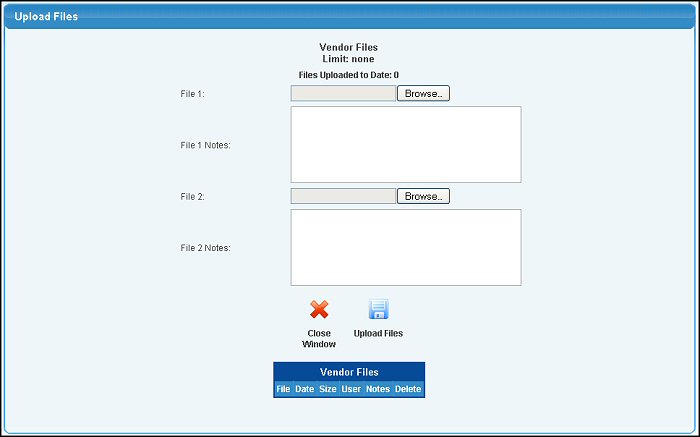
- File x: Use the browse button to find the file or graphic or document you want to attach.
- File x Notes: If a note will be useful in explaining what this attachment is for, you can enter that here.
- Click on the
 Upload Files button to actually start the upload process. Upload Files button to actually start the upload process.
- When the upload is done, it will be added to the list of attached files at the bottom of the screen and allow you to enter more documents. When you are done, click on the
 Close Window button to finalize the attaching process. Close Window button to finalize the attaching process.
- On the original data screen, if a file/document was already attached, the attach dialog box would look like this:

- If the attached item was a picture, it will be displayed in the File window. If it is a document of some kind, you can click on the name to see the document.
- To delete an existing document or file, click on the
 Delete button. Delete button.
| |
|