Receive items into inventory that did not first have a PO written.
- From the Main Menu, select Payables -> Purchasing -> Receive Without PO.
- Your screen should look similar to this:
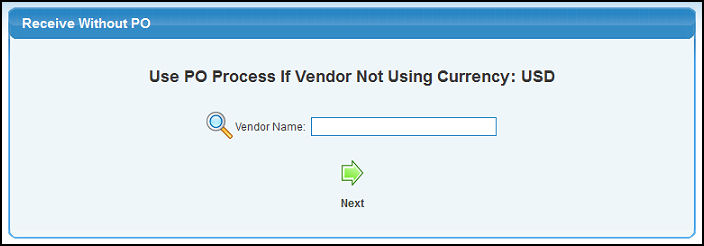
- Note: If the multi-currency module is activated a message will display indicating the Purchase Order process should be used if the vendor is assigned a currency other than the one indicated in the message.
- Vendor Name: Enter Vendor Name (or any portion of the name) to bring up a drop-down of possible matches. If you want to search by phone, zip code, etc., use the
 Lookup button for detailed searches. Lookup button for detailed searches.
- To continue, click on the
 Next button. Your screen should look similar to this: Next button. Your screen should look similar to this:
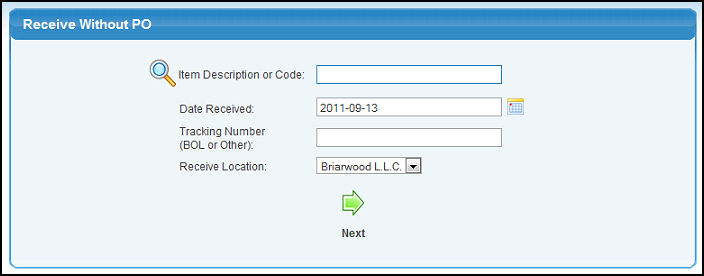
- Enter data in the following categories:
- Item Description or Code: Enter Item Name (or any portion of the name) to bring up a drop-down of possible matches. If you want to search by description, type of item, vendor, category, etc., use the Lookup button for detailed searches.
- Date Received: This will default to today's date, but you can either enter the date manually or click the
 Calendar button to select the date from a calendar. Calendar button to select the date from a calendar.
- Tracking Number (BOL or Other): Enter Tracking Number from the Bill of Lading (BOL) or other shipping documents.
- Receive Location: Select which location these items were received at from the pull-down list. NOTE: If you do not have multiple locations you will not see field.
- To enter the quantity received and base costs, click on the Next button. Your screen should look similar to this:
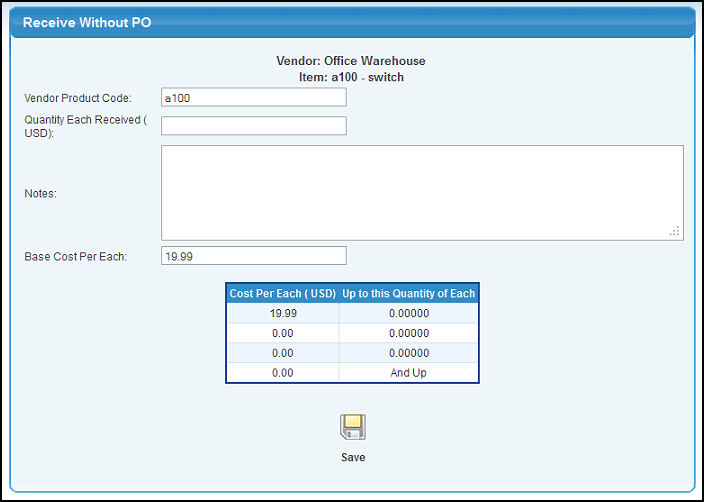
- Enter the necessary information in the following categories (Note: if this vendor has been used before for this item, some of this information will be automatically filled in):
- Vendor Product Code: This is the product code the vendor uses to identify the item, NOT your item code.
- Quantity Each Received: Enter the quantity of the item you received.
- Notes: Enter any notes to associate with the receipt of items.
- Base Cost per (unit): Enter the base cost per unit.
At the bottom of the screen, you will see a detailed list of the Cost per each and the Qty. of each per cost. This is so you can update this vendor's pricing schedule for this item.
- To save your changes, click on the
 Save button. Save button.
- Your screen should look similar to this:

- To return to receive more items for this vendor, click on the
 New Item Same Vendor button. New Item Same Vendor button.
- To return to select a new vendor, click on the
 New Vendor button. New Vendor button.
|