List Items Received (with or without a Purchase Order) for a range of dates. The receipt of the item can be cancelled by drilling down from this report.
- From the Main Menu, select Reports -> Payables -> Items Received.
- Your screen should look similar to this:
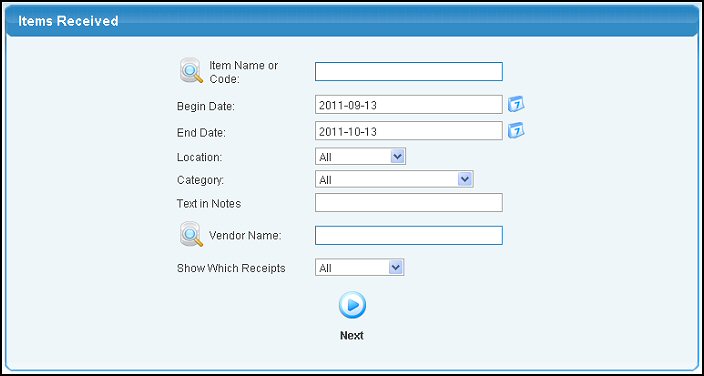
- Enter search data in the following categories:
- Item Name or Code: Enter Item Name (or any portion of the name) to bring up a drop-down of possible matches. If you want to search by description, type of item, vendor, category, etc., use the
 Lookup button for detailed searches. Lookup button for detailed searches.
- Begin Date: You can either enter the date manually or click the
 Calendar button to select the date from a calendar. Calendar button to select the date from a calendar.
- End Date: You can either enter the date manually or click the Calendar button to select the date from a calendar.
- Location: Select a location from the pull-down list.
- Category: Select a Item Category from the pull-down list.
- Text in Notes: Enter words (or portions of words) to search in the Notes field.
- Vendor Name: Enter Vendor Name (or any portion of the name) to bring up a drop-down of possible matches. If you want to search by phone, zip code, etc., use the Lookup button for detailed searches.
- Show Which Receipts: Select which items to select for the report, all received items, those with a PO, or those without a PO.
- To view your report, click on the
 Next button. Your screen should look similar to this: Next button. Your screen should look similar to this:
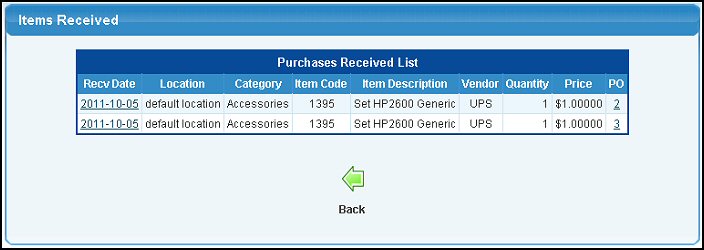
- To return to the previous screen, click on the
 Back button. Back button.
- To see a detailed report or cancel a receipt in case of error, click on the Received Date. Your screen should look similar to this:
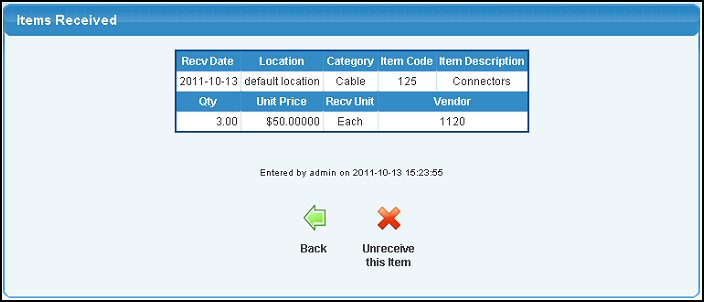
- To cancel the receipt, click on the
 Unreceive This Item button to cancel the receipt. Unreceive This Item button to cancel the receipt.
- To return to the previous page WITHOUT SAVING the changes, click on the
 Back button. Back button.
|