This screen performs a Bank Reconciliation between any account set up in NolaPro as a Payment/Checking Account and the balance in the General Ledger. Transactions can be marked as cleared and the reconciliation difference is displayed on the screen.
- From the Main Menu, select Ledger -> Bank Reconciliation.
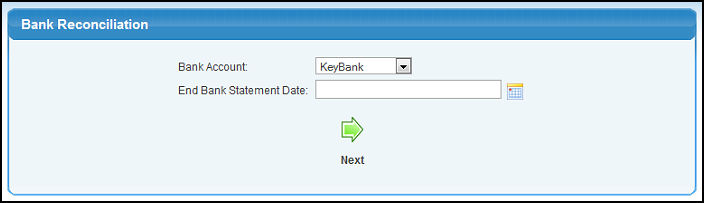
- Your screen should look similar to this:
- Enter the following information:
- Bank Account: Select a Bank Account from the drop-down list. The accounts shown here are the accounts you have set up in the Admin -> Setup - Payables -> Checking Accounts screen.
- End Bank Statement Date: Enter the date of the bank statement. It is recommended to always use the period-ending date from your bank statements. Each transaction carries the date of the reconciliation when saved as cleared. This enables you to match your bank statement with your NolaPro balance.
- To continue with the reconciliation, click on the
 Next button. Next button.
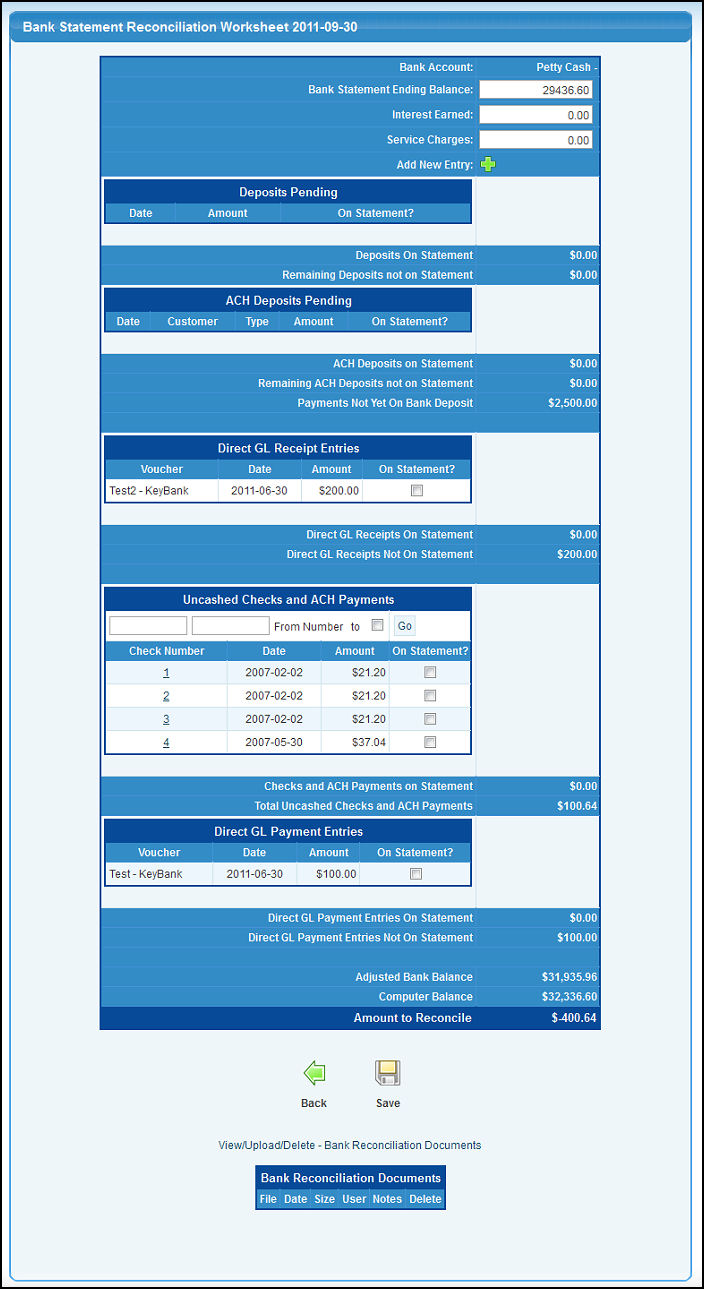
- Your screen should look similar to this:
- Enter the following information:
- Bank Statement Ending Balance: Enter the ending balance from your bank statement for this period.
- Interest Earned: Enter any interest earned on your bank statement.
- Service Charges: Enter any service charges on your bank statement.
- Transactions: Place a checkmark on the transactions that appear on your bank statement. NOTE: Transactions appearing on the screen that cleared on a previous statement should be cleared in NolaPro under that period ending date. Return to the previous screen and mark them cleared on the Bank Reconciliation for the statement where they appeared.
- Select a range of checks: You can select a range of checks by entering the range of check numbers in the From / To boxes at the top of the list of Uncashed Checks. Important: Place a check mark in the box following the ending check number to select the checks or leave the box blank to unselect the checks. Click the Go button to select/unselect the individual checks.
- To return to the previous screen WITHOUT SAVING your changes, click on the
 Back button. Back button.
- To save the marked transactions as cleared, click on the
 Save button. Save button.
|