Set up your checking account information. You can set up multiple checking accounts, define different ones for Payables and Payroll, or designate one account for both Payables and Payroll. If using Direct Deposit, it is helpful to have your ACH contract with your bank available when completing this screen.
- From the Main Menu, select Admin -> Setup - Payables -> Checking Accounts or Admin -> Setup - Payroll -> Checking Accounts.
- Your screen should look similar to this:
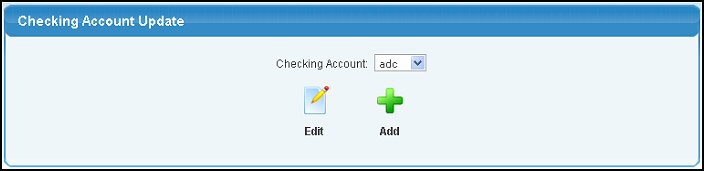
Note: If you already created a Checking Account in the Accounts Payable module, you will see that account listed on this screen.
- Select the Checking Account from the pull-down list and then click the
 Edit button. Edit button.
OR --- click on the  Add button to create a new checking account entry. Add button to create a new checking account entry.
- Whether you ADD or EDIT, the next screen should look similar to this:
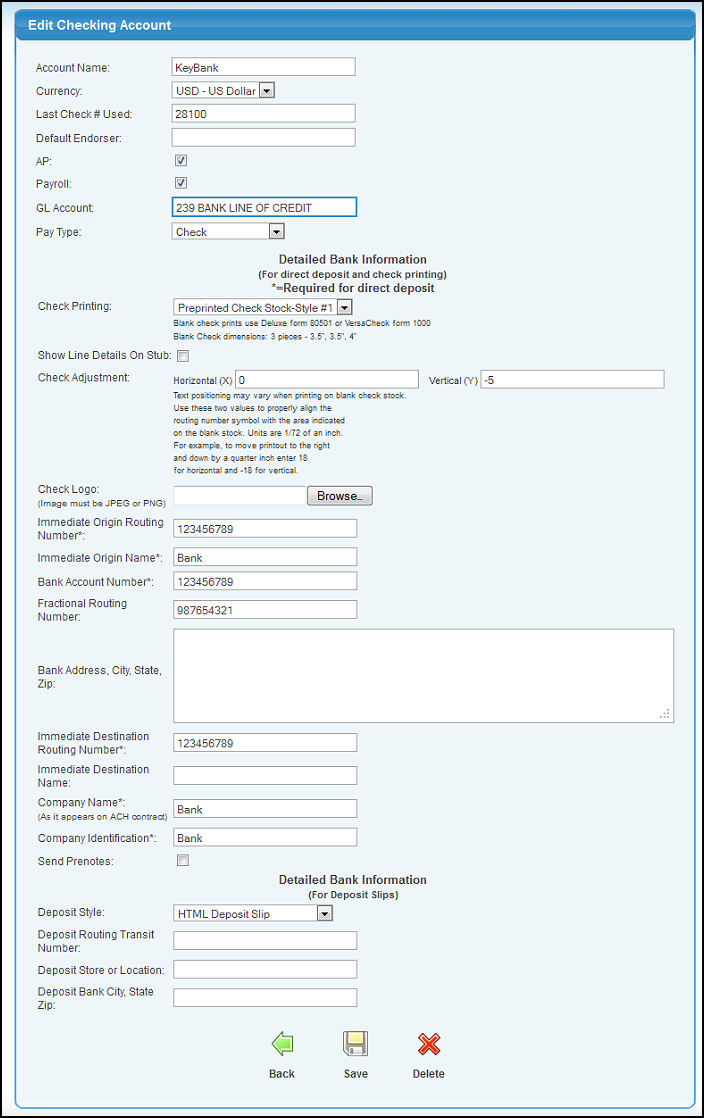
- Enter data in the following categories:
- Account Name: We suggest entering the Bank name.
- Currency: The account currency. This field will appear if you have the Multi-Currency Add-On activated.
- Last Check # Used: This entry is so your new checks will start at the right numbers for this checking account.
- Default Endorser: Enter the name of the person responsible for signing the checks (this WILL print on the check under the signature line. Some banks do not like this so you may need to leave this blank).
- AP: Check this box if this checking account can be used for Payables checks.
- Payroll: Check this box if this checking account can be used for Payroll checks.
- GL Account: The General ledger ASSET account that checks will be drawn from.
- Pay Type: Select between Cash, Check, Credit Card and ACH/EFT transfers.
NOTE: After Pay Type, you will only see more entry fields if the pay type selected is CHECK.
- Check Printing: Select the style of check you are using from the pull-down list. For a sample of the available check layouts, see Preprinted Check Styles in the Related Topics area at the bottom of this Help Topic.
- Stub Arrangement: Choose between check-stub-stub and stub-check-stub check format. This field will appear if you have the Checks: stub-check-stub Add-On.
- Use Special Format For Payroll Checks: Check to enable special format payroll checks. This field will appear if you have the Special Payroll Check Format Add-On.
- Show Line Details On Stub: Check this box to include line details on the check stub.
- Check Adjustment: When printing checks, some horizontal and vertical adjustments may need to be made to accommodate slight variances in where the printer begins printing. Use these two values to properly align the routing number symbol with the area indicated on the blank stock. Units are 1/72 of an inch. For example, to move printout to the right and down by a quarter inch enter 18 for horizontal and -18 for vertical.
- Check Logo: Enter the name of the graphic file containing your company logo that you want to appear on the checks. NolaPro can support JPG and PNG file types. To locate your file, click on the Browse button.
- Immediate Origin Routing Number*: (required for Direct Deposit) Enter your Bank Routing Number of the Checking Account being used to pay these checks. Check with your bank or refer to your ACH contract to complete the fields for Direct Deposit.
- Immediate Origin Name*: (required for Direct Deposit) This is the name of the bank where the Checking Account resides.
- Bank Account Number*: (required for Direct Deposit) Enter the account number your bank has assigned to this Checking Account. Be sure to reference your ACH contract to get the correct account number.
- Fractional Routing Number: Enter the fractional rounting number your bank has provided to you.
- Bank City, State, Zip: Enter your Bank's City, State and Zip Code.
- Immediate Destination Routing Number*: (required for Direct Deposit) Enter Routing Number of the Federal Reserve Bank where this Direct Deposit clears. This Destination Information should be available on your ACH contact. If not, contact your bank for the proper Destination Routing number.
- Immediate Destination Name*: (required for Direct Deposit) This is the name of the Federal Reserve Center where payments will be sent by your bank.
- Company Name*: (required for Direct Deposit) Enter the name of the company EXACTLY as it appears on your ACH contract.
- Company Identification*: (required for Direct Deposit) Enter the Company Identification number given to you by your bank.
- Send Prenotes: (not required) A prenote is a zero dollar transaction for an employee that just verifies that the routing and account numbers are valid. By checking this box you will force employees with new direct deposit bank information to have a prenote transaction run on their account before regular deposits are made. A standard check will be printed for this employee during any week that a prenote is sent out. Once a prenote has cleared, you must mark on the employee's bank information page that the prenote was OK for this routing and account number. After this the employee's pay will be direct deposited into his or her account. If a routing number, account number or account type (savings or checking) is changed for a person, a new prenote transaction will automatically be created for the next week to test the new numbers and the employee will receive a regular check. A new prenote will also be issued if the employee changes banks. If Send Prenotes is not checked, no prenotes will ever be sent. Employees will immediately begin receiving pay via direct deposit.
- Deposit Style: Indicate how you would like your bank deposit slip to appear.
- Deposit Routing Transit Number: The routing transit number for the deposit.
- Deposit Store or Location: Input the bank location that you would like to appear on the deposit slip.
- Deposit Bank City, State, Zip: Input the address information that you would like to appear on the deposit slip.
- To save your changes, click on the
 Save button. Save button.
- To DELETE this checking account (only available if EDITING), click the
 Delete button. Delete button.
- To return to the previous screen WITHOUT SAVING your changes, click on the
 Back button. Back button.
|