View a quick check of COST figures.
- From the Main Menu, select Reports -> Inventory -> Item Summaries.
- Your screen should look similar to this:
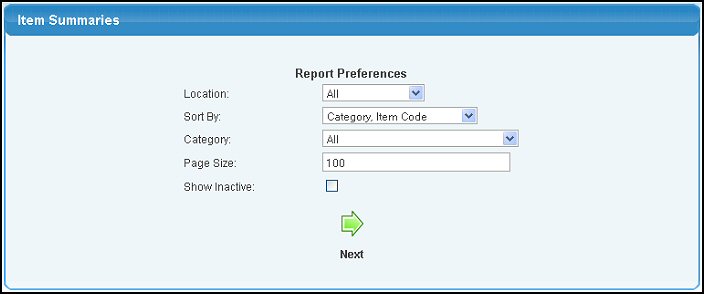
- Enter the following information to narrow your report:
- Location: Select the Location from the pull-down list. Select ALL in the list for all locations. For information on setting up Locations, see Locations in the Related Topics section at the bottom of this Help topic.
- Sort by: Select how you would like the report sorted from the choices shown in the pull-down list.
- Category: Select ALL to include all Item Categories or select a Category from the pull-down list. For information on setting up Item Categories, see Item Categories in the Related Topics section at the bottom of this Help topic.
- Page Size: Enter the number of records you want to see on one page.
- Show Inactive: Check this box to include inactive items in the report.
- To display your report, click on the
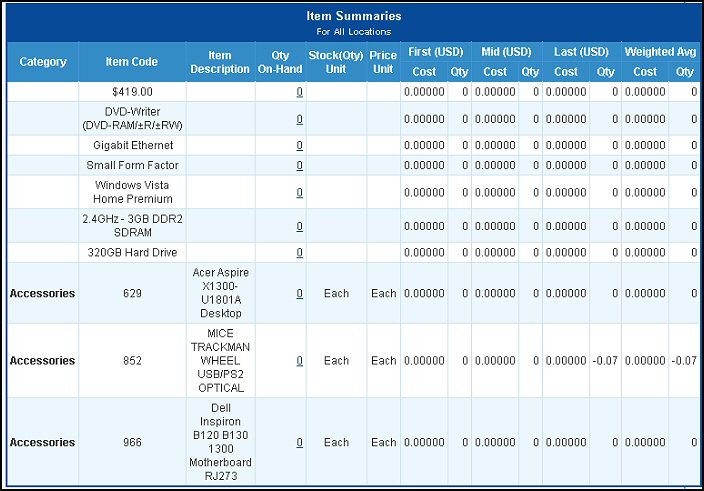
 Next button. Your screen should look similar to this: Next button. Your screen should look similar to this:
Note: The number of items and the current page number are displayed at the top of the report. A "Back" button is provided at the top as well to make navigation of a lengthy report easier.
- To return to the previous screen, click on the
 Back button. Back button.
- To view On-Hand Details about the Item, click on the number in the Qty On-Hand column. Your screen should look similar to this:
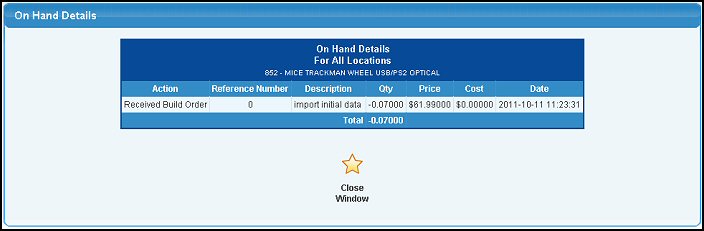
- To return to the report, click on the
 Close Window button. Close Window button.
- To export the report in a Microsoft Excel® format, click on the Export button in the Quick Links section of the footer at the bottom of the page.
|