| Using NolaPro > Admin > Setup - Inventory |
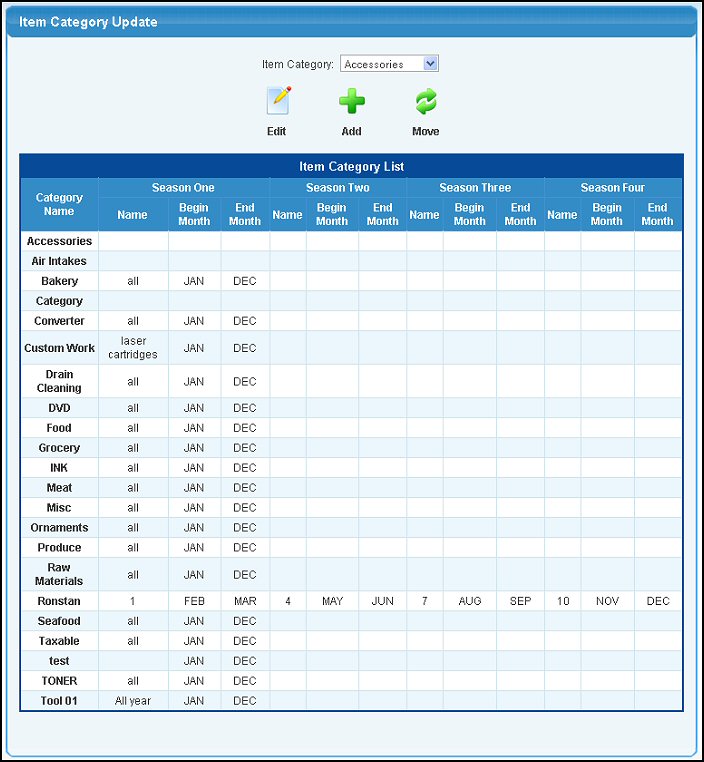
Item Categories
Item categories allow you to group your inventory items into like groups to ease searches and reports. You can also specify different seasons for each category, so that stocking levels for items can vary with the demand of the different seasons.
Move Category Items
|
 Edit.
Edit. Add.
Add.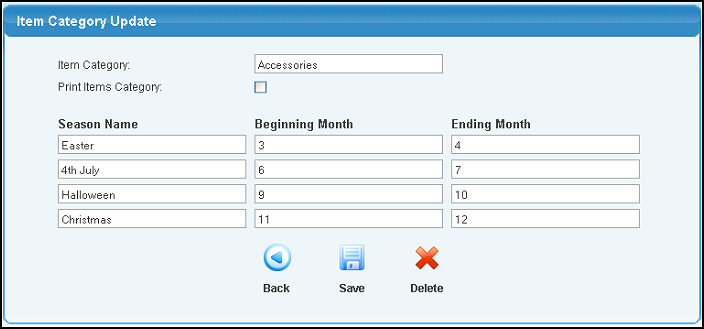
 Back button.
 Save button.
 Delete button.
 Move on the first screen you screen should look similar to the following:
 Next to complete the transfer and your screen will look similar to the following: