View a list of checks written between certain dates to see if they have been cashed or voided.
- From the Main Menu, select Reports -> Payables -> Check List.
- Your screen should look similar to this:
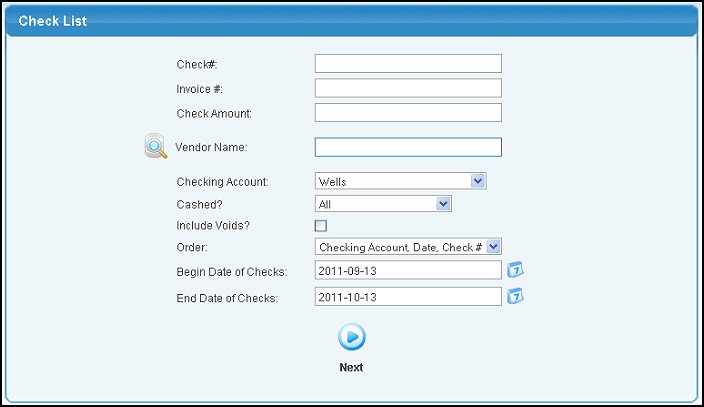
- Enter data in the following categories:
- Check#: Enter a check# to see a single check or leave BLANK to see all checks.
- Invoice#: Enter an Invoice# to see all checks for that invoice or leave BLANK to see all invoices.
- Check Amount: Enter an amount to see checks for that amount.
- Vendor Name: Enter Vendor Name (or any portion of the name) to bring up a drop-down of possible matches. If you want to search by phone, zip code, etc., use the
 Lookup button for detailed searches. Lookup button for detailed searches.
- Checking Account: Select a checking account from the pull-down list. NOTE: Only shows if you have more than one checking account.
- Cashed? Choose either All, Show only Cashed (as a verification of cashed totals equaling bank statement totals of cashed for the period), or Show Only Uncashed (to use a a report of remaining uncashed to use when verifying your bank balance).
- Include Voids? Check this box to have the report include any voided checks in the group.
- Order: Select the sort order desired from the pull-down list.
- Begin Date of Checks: This is the check date unless you select SHOW CASHED ONLY as the group in which case it uses the CASHED DATE. You can either enter the date manually or click the
 Calendar button to select a date from the calendar. Calendar button to select a date from the calendar.
- End Date of Checks: This is the check date unless you select SHOW CASHED ONLY as the group in which case it uses the CASHED DATE. You can either enter the date manually or click the Calendar button to select a date from the calendar.
- To view the checks meeting the criteria you entered above, click the
 Next button. Your screen should look similar to this: Next button. Your screen should look similar to this:
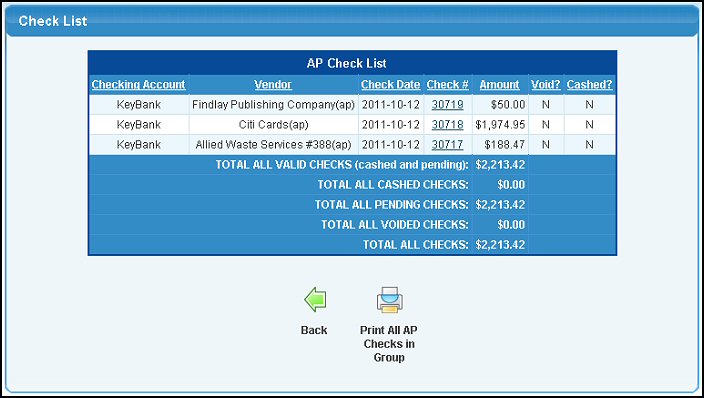
If the vendor name is followed by "(pay)" then this is a payroll check. Payroll checks must be voided through the payroll system. Payables checks have an "(ap)" after the vendor name, and Receivables refund checks have an "(ar)" after the customer name.
- To sort the displayed report, click on any of the column headers to sort by that field.
- To reprint a single check, click on the Check #. For more information on viewing checks, see the View/Cancel Accounts Payable Checks in the Related Topics section at the bottom of this Help screen.
- To reprint groups of checks from either Receivables (ar) or Payables (ap), there will be a button or buttons at the bottom of the report to print all of that type that is showing on the report.
- To export the report in a Microsoft Excel® format, click on the Export button in the Quick Links section of the footer at the bottom of the page.
- To return to the previous screen, click on the
 Back button. Back button.
|