Enter payment information and print checks for bills to be paid if not using the check pre-approval process. (This option is set under Admin -> Setup - Payables -> General Setup).
- From the Main Menu, select Payables -> Checks -> Write Checks.
- Your screen should look similar to this:
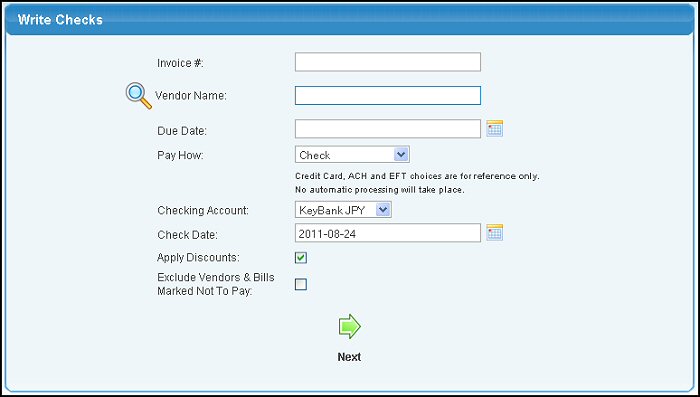
- Enter data in the following categories:
- Invoice #: If you do not know this, leave it blank.
- Vendor Name: Enter Vendor Name (or any portion of the name) to bring up a drop-down of possible matches. If you want to search by phone, zip code, etc., use the
 Lookup button for detailed searches. Lookup button for detailed searches.
- Due Date: If you want to include only those invoices due by a certain date (say, within the next 7 days), you can either enter the date manually
or click the
 Calendar button to bring up a calendar. Calendar button to bring up a calendar.
- Pay How: Select method of payment from the pull-down list. NOTE: Credit card, ACH, EFT selections for reference only. No automatic processing will take place. You will need to process the credit card transaction file separately.
- Checking Account: If you have MORE THAN ONE checking account defined for payables, select the one you want from the pull-down list. (you will not see this prompt if you have only one checking account.)
- Check Date: Select the date to be put on your checks. This date will be the date used to post the check run to the General Ledger if "Use Transaction Date" field in Payables Setup is UNCHECKED. For more explanation on this feature, see the Standard GL Account (Payables) topic in the Related Topics section at the bottom of this Help screen.
- Apply Discount: Check this box if you want to take any available discounts.
- Exclude Vendors & Bills Marked Not To Pay: Check this box if you do not want include bills marked not to pay.
- To write the checks, click on the
 Next button. Your screen should look similar to this: Next button. Your screen should look similar to this:
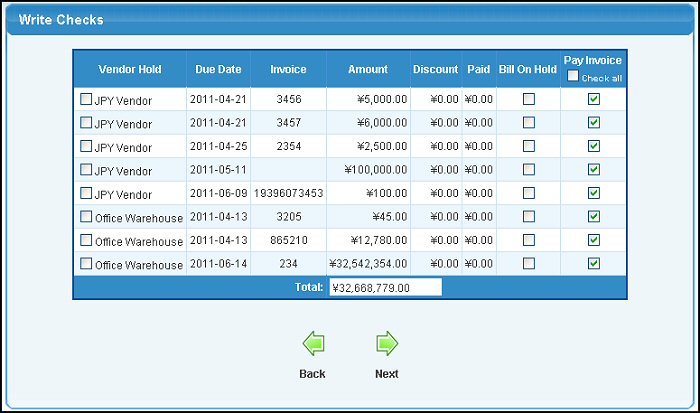
- Enter data in the following categories:
- Vendor (Hold): If you check this box (next to the vendor name) it will place all bills for this vendor in a HOLD status. Vendor (hold) box or boxes must be UNSELECTED to pay the invoice.
- Bill on Hold: If you check this box, this BILL will be placed on HOLD status.
- Pay Invoice: Check this box if you WANT this invoice to be paid at this time (all invoices are checked to be paid by default). To check or uncheck ALL invoices shown, check or uncheck the Check All box at the top of the Pay Invoice column. NOTE: The total amount being paid will show up at the bottom of the screen in the Total box.
- To cancel the check run and return to the previous screen, click on the
 Back button. Back button.
- Once you have selected the invoices to pay, click the Next button to process the checks. Your screen should look similar to this:
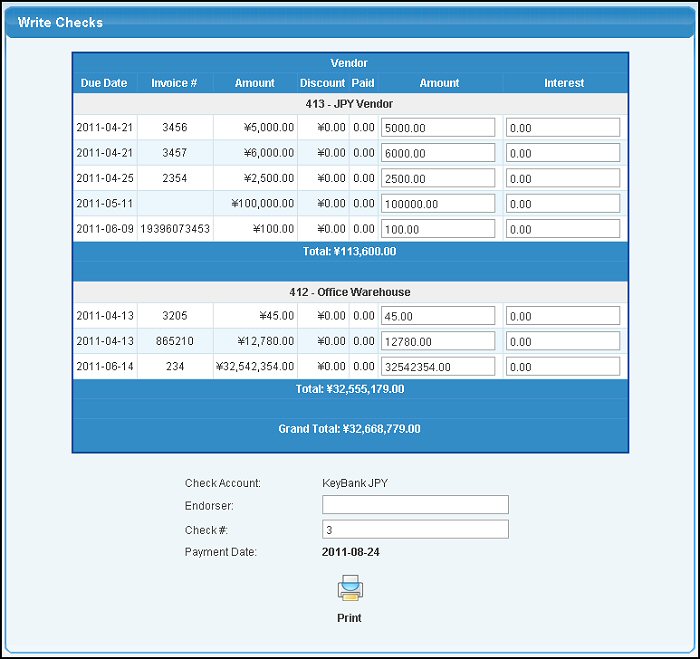
- Verify the information shown and edit the following categories, if necessary:
- Interest: Enter the amount of interest to also be paid on each invoice.
- Checking Account: This will default to the account you choose on the first screen.
- Endorser: Enter/Verify this is the name of the person signing the checks.
- Check #: Verify the beginning check number is correct. If using preprinted check stock, verify the beginning check number matches the check number on your first check.
- Payment Date: The current date.
- To print the checks, click on the
 Print button. Your screen should look similar to this: Print button. Your screen should look similar to this:

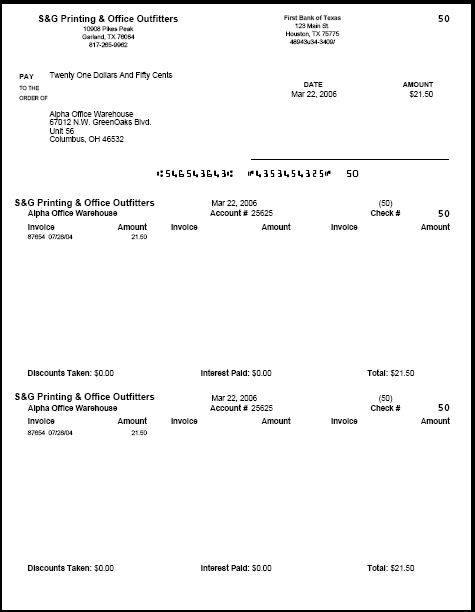
- To print the checks in .PDF format, click on the Check Numbers or on the words Print All in List. An example of the Check Print is shown in the Sample Check Print section below.
- If the .PDF file does not open automatically or give the option to open the file, you may see this screen:
- If so, click on the words Click to View to view the checks and print them.
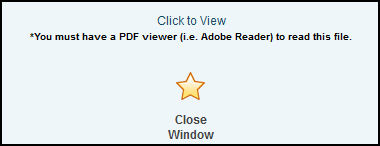
- To return to the previous screen and print more checks, if necessary, click on the
 Close Window button. Close Window button.
- To finish, click on the Back button.
This check assumes a pre-printed check paper, with the check at the top, followed by two stub copies.
|