Define markups for each price level. Items can use these standard
markup sets or can be "fixed price". This will also display a list
of your markup set descriptions, pricing levels and markup percentages.
- From the Main Menu, select Admin -> Setup - Inventory -> Standard Markup.
- Your screen should look similar to this:

- Select the markup set you want to edit from the pull-down list.
- To continue with the edit, click on the
 Edit button. Your screen should look similar to this: Edit button. Your screen should look similar to this:
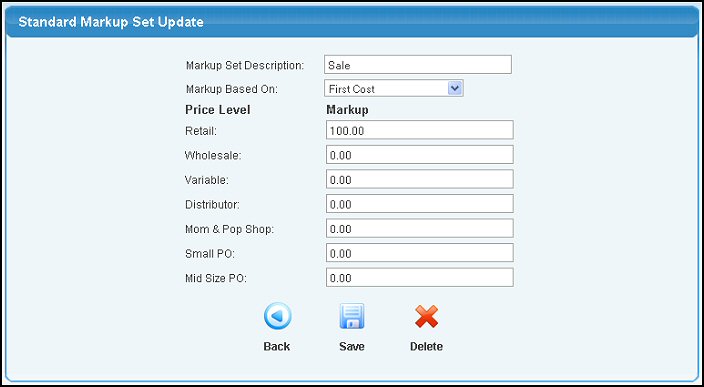
- Edit the data in the following categories:
- Markup Set Description: Name used for referring to this markup set.
- Markup Based On: Apply markup to which cost... First, Mid or Last. (First is the oldest price paid for current stock, mid is the average of all purchases in stock, last is the most recent price paid for stock).
- Price Level/Markup: Next to each price level you can enter a percentage (enter 15% as 15) that the items will be marked up for selling.
- To save your changes, click on the
 Save button. Save button.
- To delete this Markup Set, click on the
 Delete button. Delete button.
- To return to the previous screen WITHOUT saving your changes, click on the
 Back button. Back button.
- To add a new Standard Markup Set, click on the
 Add button. Your screen should look similar to this: Add button. Your screen should look similar to this:
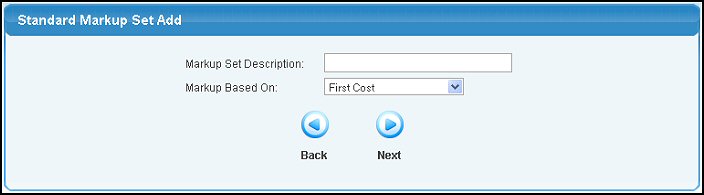
- Enter data into the following categories:
- Markup Set Description: Name used for referring to this markup set.
- Markup Based On: Apply markup to which cost... First, Mid, Last or Weighted Average Cost. (First is the oldest price paid for current stock, mid is the average of all purchases in stock, last is the most recent price paid for stock).
- To return to the previous screen WITHOUT adding the new Markup Set, click on the Back button.
- To save the new Markup Set Description and Base and enter the Markup Percentages, click on the
 Next button. Your screen should look similar to this: Next button. Your screen should look similar to this:
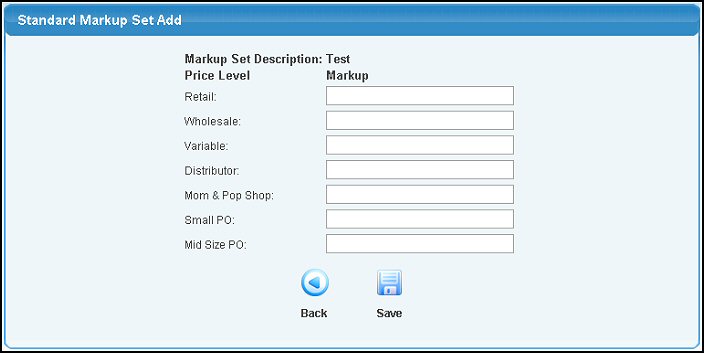
- Enter the Markup for each price level needed.
- To return to the previous screen WITHOUT saving your changes, click on the Back button.
- To save the new Markup Set, click on the Save button.
|