|
|
Add or Update Customer personnel who can log into your NolaPro B2B Partner Site to view orders, invoices, history of purchases, history of payments, etc. Security levels can be set for each user, limiting what information they can access.
- From the Main Menu, select Contacts -> Customers -> B2B Users.
- Your screen should look similar to this:
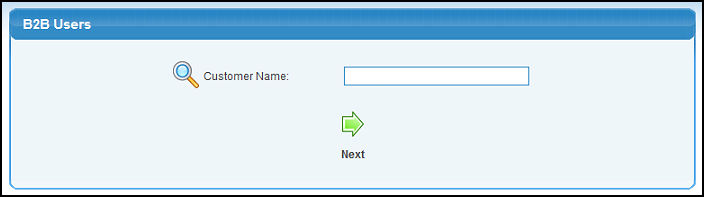
- Customer Name: Enter Customer Name (or any portion of the name) to bring up a drop-down of possible matches. If you want to search by phone, zip code, etc., use the
 Lookup button for detailed searches. Lookup button for detailed searches.
- Bring up the users for this customer - click on the
 Next button. Your screen should look similar to this: Next button. Your screen should look similar to this:
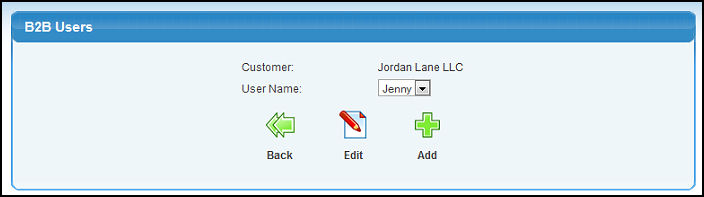
- Select an existing user from the drop-down list and click
 Edit, or click on the Edit, or click on the  Add button to create a new user for this company. In either case the next screen will look similar to this: Add button to create a new user for this company. In either case the next screen will look similar to this:
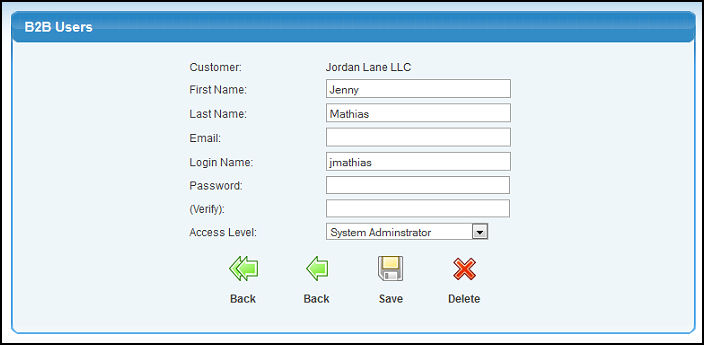
- Enter data into the following categories:
- First Name: First name of user (any user can see all orders, etc. for their company).
- Last Name: Last name of user.
- Email: Email address of user.
- Login Name: Name user will use whenever they log onto the B2B site.
- Password: Password user must enter whenever they log onto the B2B site.
- Verify: Retype the password for verification.
NOTE: Passwords only need to be entered when ADDING a new user or when CHANGING the Password. Otherwise, if you do not enter a password, the originally entered password is kept.
- Access Level: Select what access level this user has from the drop-down list. Users with System Administrator rights can add other users for their company from the B2B site. In other words, if you create one System Administrator user, that person can decide who else can see their company information and what areas they can access.
- To select a different customer, click the
 Back button. Back button.
- To select a different user for the SAME customer, click the
 second Back button. second Back button.
- To save any changes, click on the
 Save button. Save button.
- If you are updating and want to remove a user's access to the B2B Site, click on the
 Delete button. Delete button.
| |
|