|
|
All items ordered during a given time frame, summarized by Item within Customer, along with the average price paid for each item during that time.
- From the Main Menu, select Reports -> Inventory -> Item Order History.
- Your screen should look similar to this:
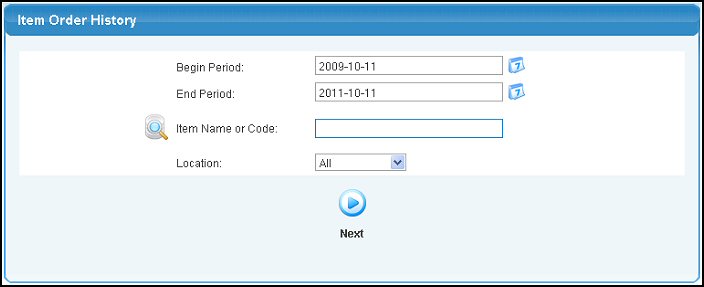
- Enter information into the following categories to narrow your report:
- Begin and End Period: Enter a date range to be included in your report. Manually enter both dates or click on the
 Calendar button to select dates from the calendar. Calendar button to select dates from the calendar.
- Item Name or Code: Leave this field blank if you want to include all items or to report on a specific item, enter the item name (or any portion of the name) to bring up a drop-down of possible matches. If you want to search by category, vendor, etc., use the
 Lookup button for detailed searches. Lookup button for detailed searches.
- Location: Select a Location from the pull-down list to report activity from a specific location or select ALL to report activity from all locations.
- To display the report, click on the
 Next button. Your screen will look similar to this: Next button. Your screen will look similar to this:
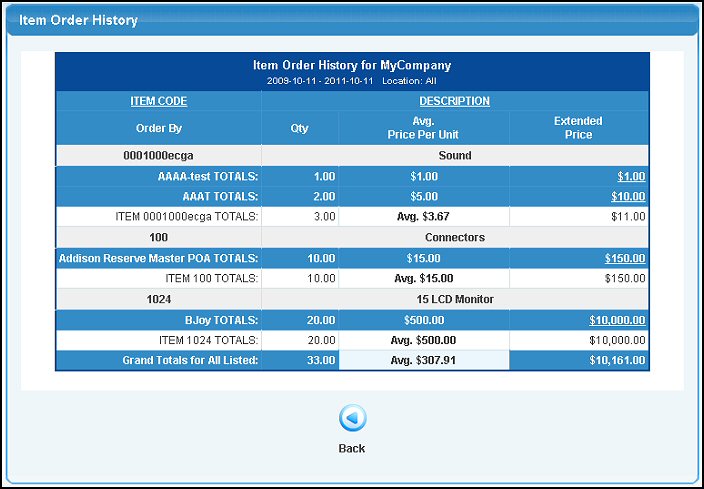
- To sort this report by Item Code or Description, click on the corresponding column heading.
- To view a list of each order that is making up the totals for that customer, click on the Customer Total Extended Price field. Your screen should then look similar to this:
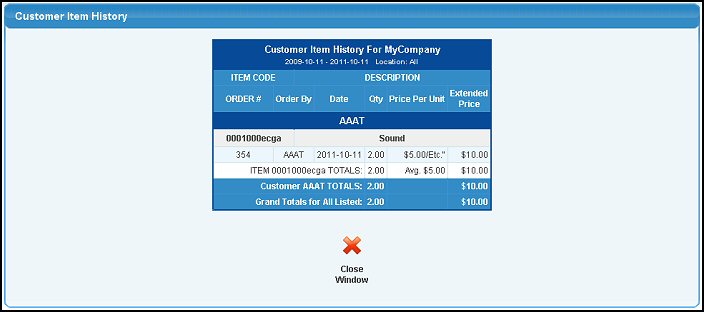
- To export any of these reports to a file in Microsoft Excel® format, click on the Export button in the Quick Links section of the footer at the bottom of the page.
- To return to the previous screen, click on the
 Close Window button. Close Window button.
| |
|