| Using NolaPro - Standard Version > Print Shop Setup |
Plant Locations
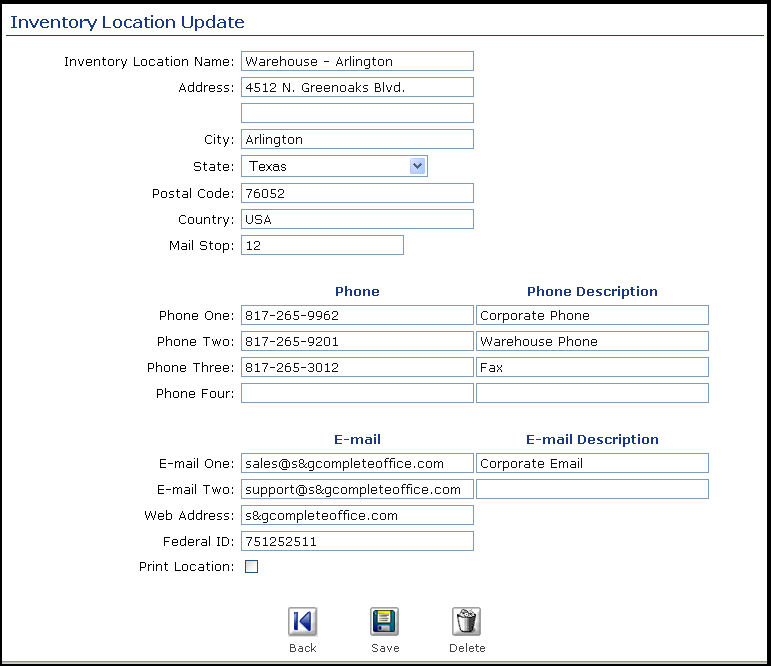
This allows you to add or edit information on the locations where inventory is stored - different buildings, different warehouses or different plants. You must have at least one location. From the Main Menu select either Inventory then Setup then Locations OR Printing then Setup then Locations. Your screen should look similar to this:
Edit
an Existing Plant Location
1) Select the Inventory Location you would like to edit from the pull-down list. 2) Click the
4) Click the 5) Click the 6) Click the Add a New Plant Location
1) Click the
2) Enter the necessary information for the new plant. Print Location: This is the only item on this screen needing explanation. If you have one of the NolaPro Print modules, then the location to draw inventory from should be check-marked. You must have AT LEAST ONE of the locations check-marked as a print location in order for the updates of inventory to work correctly from the Printshop Module. 3) Click the |


