|
|
The Report Builder allows you to build your own reports by selecting data directly from the database.
Select Tab
The select tab will allow you to name the report, choose what tables and fields to pull from, and set the formatting of the data in each column.
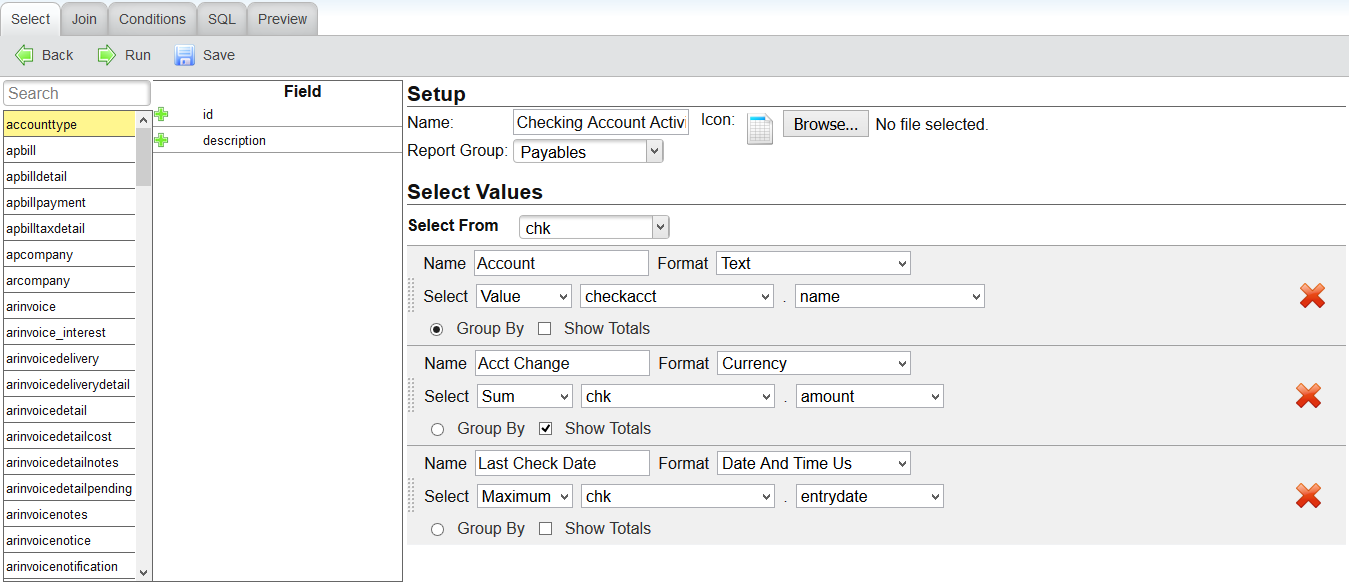
Select Tab - Setup
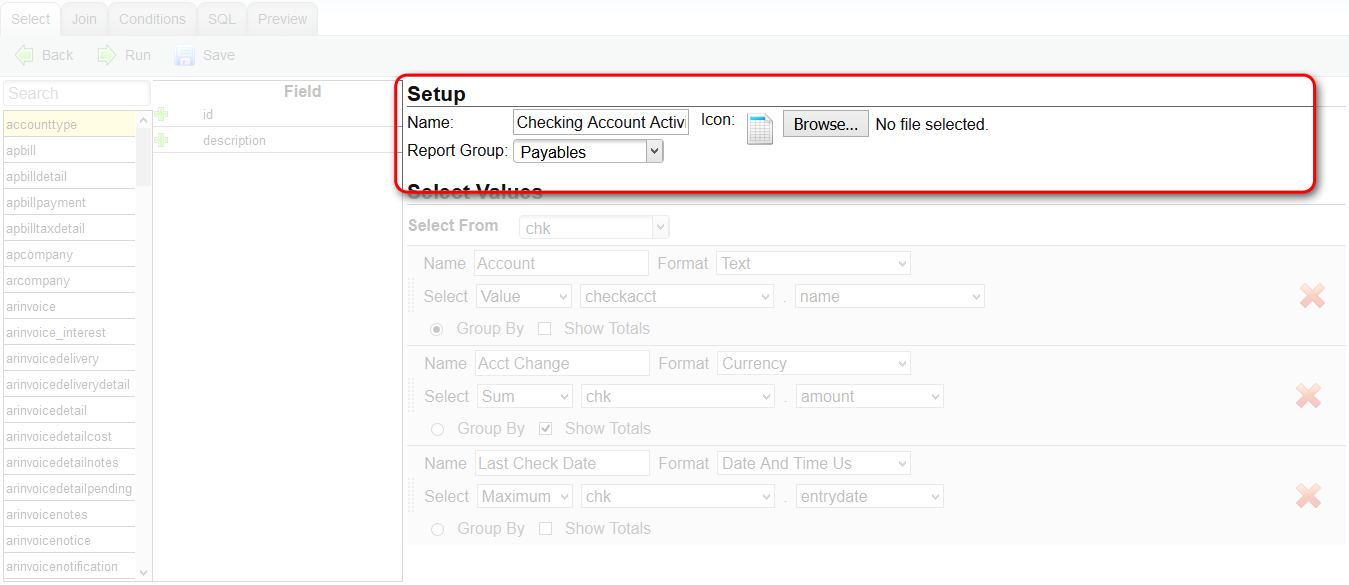
- Name This is the name that will appear under the Menu as well as in general when selecting to edit.
- Report Group This is the menu tab/group that this report will appear under
- Icon This is image to show in the NP6 menus
Select Tab - Tables & Fields
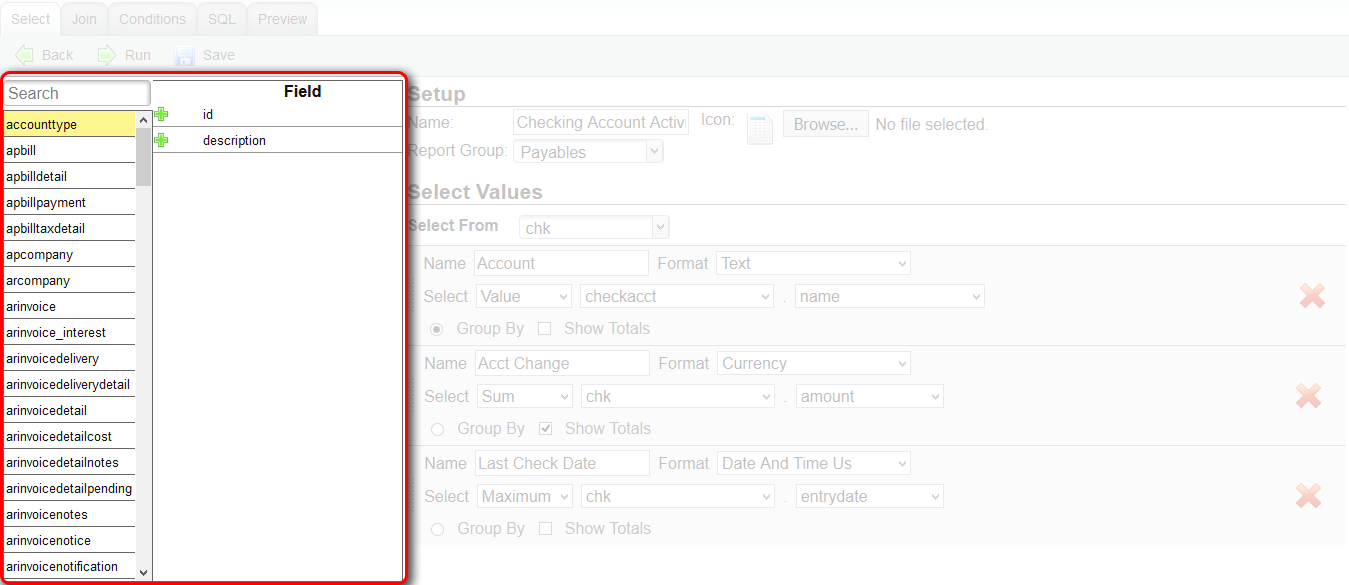
- Left Pane This is a list of available tables to pull from. Many have a module prefix (ap = Payables, ar = Receivables, pr = Payroll, gl = Ledger, inv = Inventory)
- Right Pane This is a list of available fields from the selected table on the left. Clicking on one of the entries will add it to the Select Vales section
Select Tab - Values
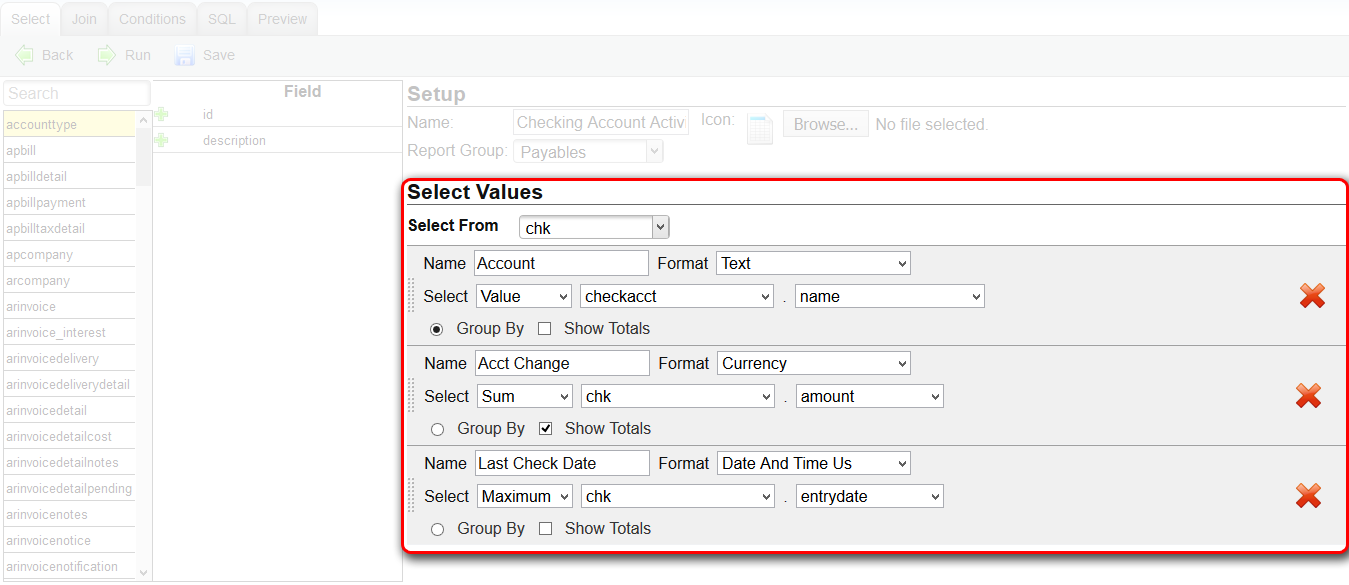
- Select From This is the table where selection begins. This should always be set but is only relevant when merging data between two different tables. If you are familiar with SQL, this is the 'FROM' table and all other tables are LEFT JOIN.
- Name The header text that will appear above this column.
- Format How the data will be formatted when displayed.
- Select This allows you to make a calculation on the data (the Sum, Entry-Count, Average, Minimum or Maximum Value). A Group By must be set on the report in order for this to work if change from "Value".
- Group By Group records together that match. This is needed for any select type that is not "Value". The Sum, Average, etc. functions only display values that had been grouped by the "Group By"
- Show Totals This will show a total of the column's values in the final row of the report.
Join Tab
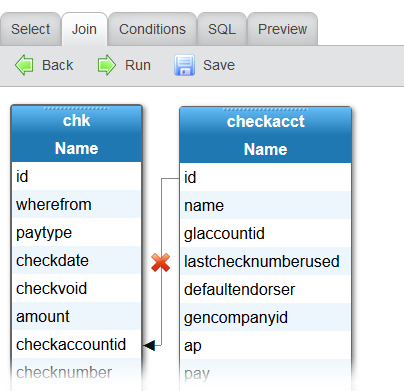
The Join tab is used to define table relations. Many tables will automatically join, but if not an error message will be shown at the top of the page letting you know that joining needs to be completed. You can join two tables by dragging a fields from one table to the matching field in the other table. To break a join simply press the red-x. The above example shows that the `checkacct` table is joined to `chk` table by `chk`.`acheckacountid` matching `checkacct`.`id`.
Conditions Tab
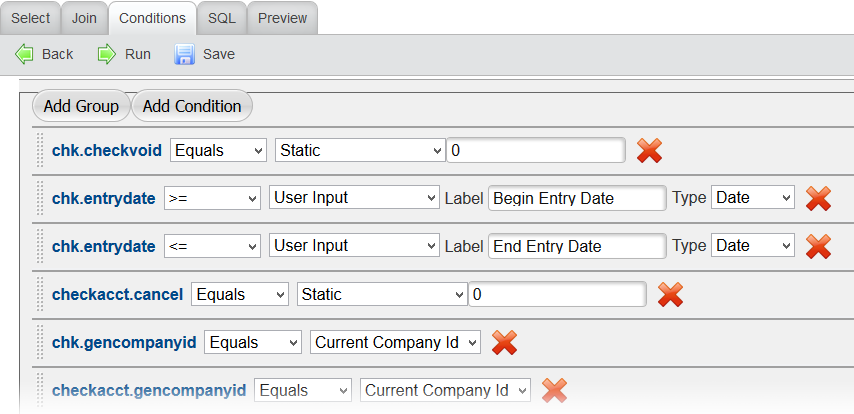
Use this table to defined what rules to select data by. Most commonly you will want to exlude data that is marked as deleted, from a different company or limit your report to only the data that you want to view.
- Add Condition Adds a new condition that the data must match
- Add Group Allows you to make a group of conditions and select the operator "OR" / "AND"
- Red X Deletes the condition
- The first text in each line "Select Field" or the actual field name is clickable to change the selected field.
- The first drop down allows you to change what conditional operator to use.
-
The 2nd drop down is the type of data to compare this to:
- Field Comparing value another field.
- Static Comparing value is entered on this page.
- User Input Comparing value is entered directly before being ran.
- Current Company ID The ID of the company when the report is ran.
- Current User ID The ID of the user when the report is ran.
| |
|