|
|
The Survey Manager allows you to create questionnaires on the fly that your customers, vendors or anyone else can complete. The Survey Manager also comes with a reporting tool that lets you see breakdowns for multiple choice answers and lets you view individual completed surveys.
- To create or edit a Survey from the Main Menu, select Tools -> Surveys -> Survey Manager.
- (To view Survey Reports, from the Main Menu, select Tools -> Sueveys -> Survey Reports).
- Your screen should look similar to this:
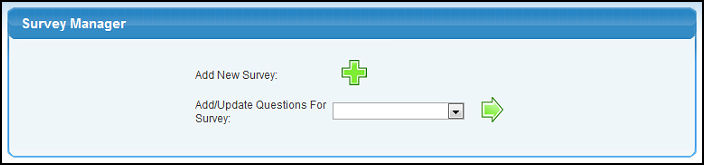
- Add New Survey: You can start a new survey by clicking on the Add button.
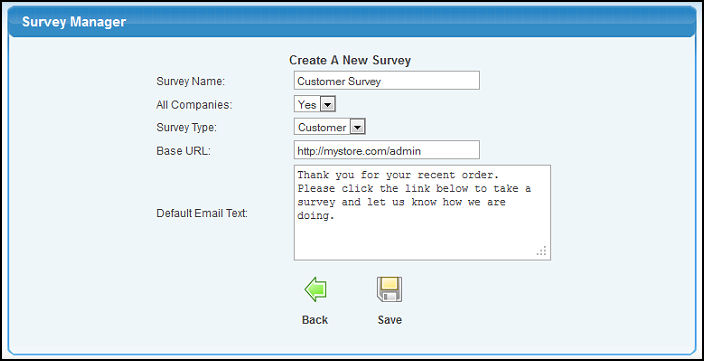
- Survey Name: The title for your survey. This will show at the top of the page when users bring up your questionnaire.
- All Companies: Do you want this survey to be available for all of your NolaPro companies or just the current one?
- Survey Type: Customer, Order, Invoice or Vendor. Is this survey for a particular purpose? If the survey is for any of these categories an 'Email Survey' box will appear on the Customer, Order, Invoice or Vendor update pages so that you can send a link directly to an individual and have a tie-back embedded in the URL that tracks who filled it out.
- Base URL: The URL you want survey-takers to use to access the form. Most of the time this will be the same as the address you use to access NolaPro. The file name of the survey and other parameters will be added to the final URL, so you can just leave Base URL as the address you use to access NolaPro. You might use a different Base URL if you use one address to access NolaPro internally, but you have a different domain name set up to access the site externally. In that case you would need to put the external URL in the Base URL box since the outside world wouldn't be able to access your internal address.
- Default Email Text: This is the text that will show up as the body of email messages when you send a survey from a customer, order, invoice or vendor page. The link to the survey will show up after the Default Email Text.
- Add/Update Questions for Survey: Select a survey from the dropdown box and click the Next button. This will allow you to add or edit questions on your survey.
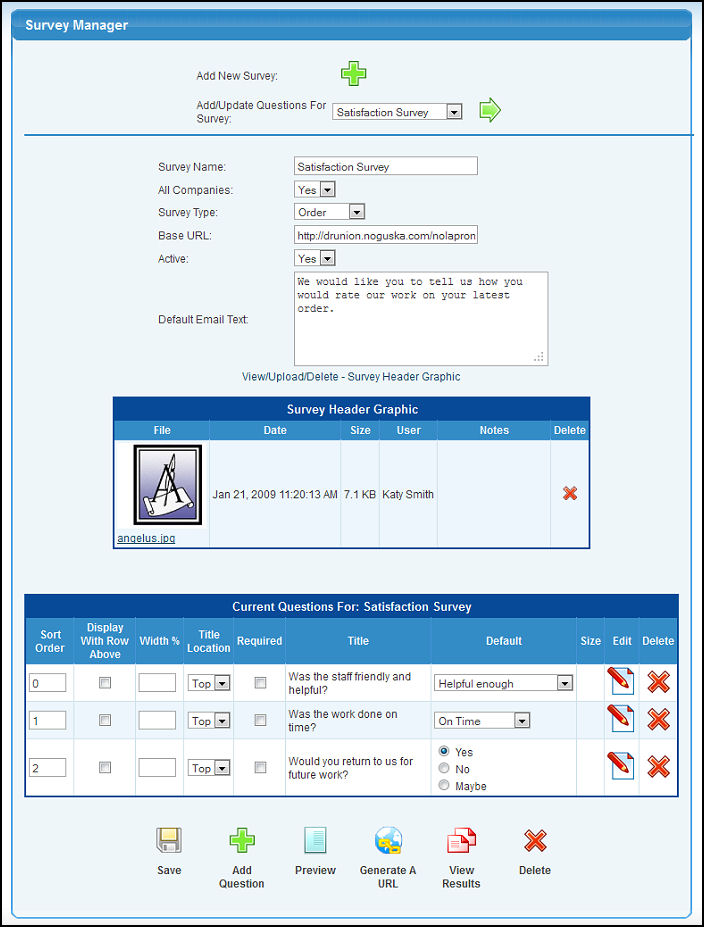
- Active: The options to edit a survey are the same as those for adding one, with the addition of the Active option. If you no longer want your survey to show up in the list of surveys that can be emailed out from various edit pages (customer, order, invoice, vendor) set Active to No.
- View/Upload/Delete - Survey Header Graphic: You can add an image that will appear at the top of your survey by clicking on this link and uploading a file.
- Current Questions: This table displays all of the questions tied to your survey. You can rearrange your questions by setting an order in the Sort Order column. You can set default answer values in the Default column. Be sure to hit the Save button at the bottom if you make changes to the sort order or default values. Edit or delete individual questions by clicking the edit or delete icons in each row.
- Save: Saves any changes you have made to the survey including changing the sort order and default values.
- Add Question: Add new questions to your survey.
- Preview: Click this button to see how your survey will look to people filling it out.
- Generate A URL: This page will help you generate a URL for your survey so that you can copy and paste it and send it to someone. Users can enter this URL in a browser to view your survey.
- View Results: See a report of responses to your survey by clicking this button.
- Delete: Remove this survey.
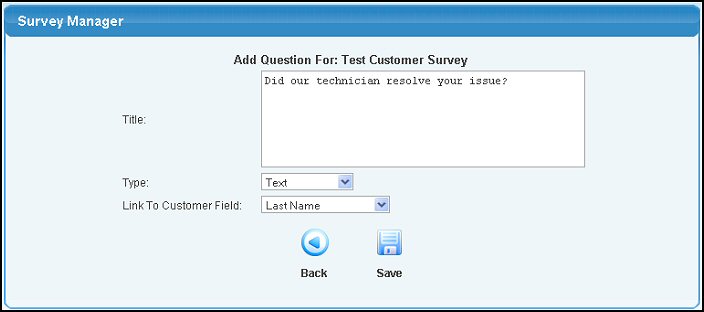
- Add A Question: After clicking on the Add Question button your page will look like the one below. After typing in your question you can define the type of the field that should be used for the response. The options are Text, Text Area, Checkbox, Select, Radio & Date. You can also choose to have this entry be a heading by choosing the Heading Only option. For Radio and Select options you can add a list of possible responses along with a display name and an internal value. Rearrange the options with the Sort Order column. Click Save when done.
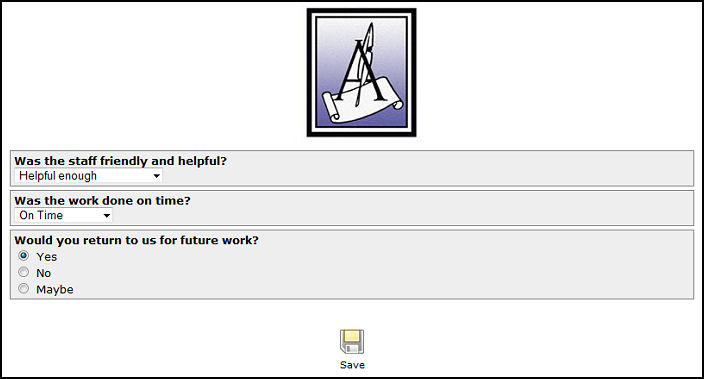
- Preview: Clicking the Preview button will open up your survey in a new window as it will appear to the survey taker. An example is given below.
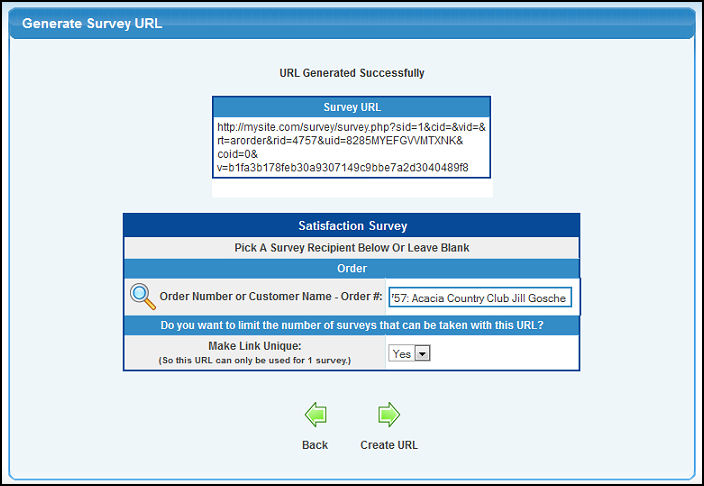
- Generate A URL: To create a URL link that you can send to someone so that they can fill out your survey, go here. You can pick a specific recipient to tie to the survey link such as a customer or order number. This will let you track back to who submitted the survey when it comes back in to you. The option Make Link Unique means that if you choose yes, the survey link can only be used once. If you want to just generate one URL for many people to use, then you will want to set this option to no. After clicking Create URL you can copy and paste the address that appears in the Survey URL box.
- View Results: To see responses to your survey click this button. It will open up the Survey Reports tool in a separate window. (You can also access Survey Reports in the main menu by going to Admin -> Reports -> Surveys.) The report will show summary statistics for any radio, select and checkbox questions. To view all responses to a survey check the Show Details checkbox. Click the Completion ID number in the details table to view the specific responses from a survey participant. Click the number in the Type ID column to view the trace-back reference point (either a customer, order, invoice or vendor).

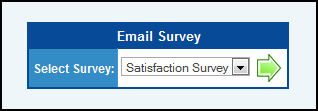
- Emailing Survey Links: To email a link to a survey from within NolaPro your survey will need to have a Survey Type set. For each type that you assign to a survey you will be able to go to that type's edit page to send out an email. In other words, if you assign the Survey Type Customer, then when you go to the customer edit page at the bottom you will see a button to email out customer surveys.
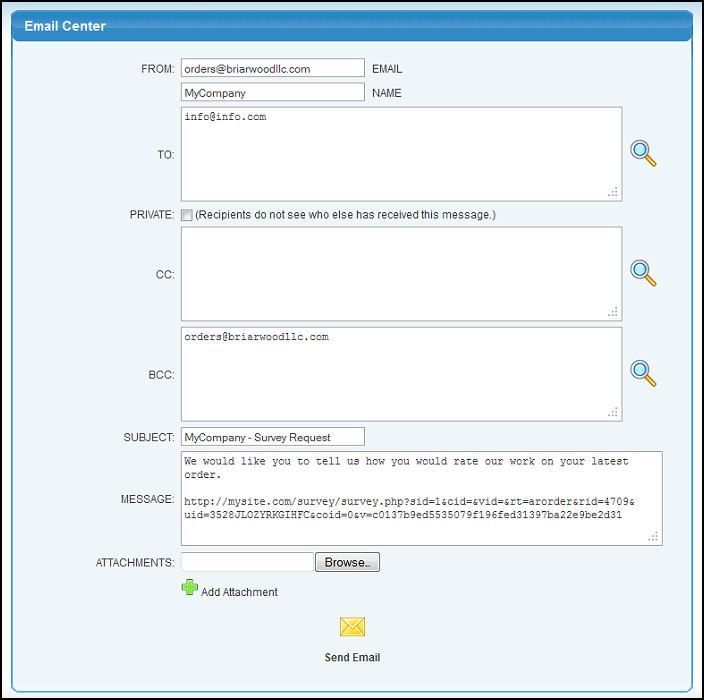
Clicking to send an email will forward you to the Admin Email page in a new window. After sending the email the system will record an entry in customer, order, invoice or vendor notes that states that a survey email was sent. You must have the proper notes add-on, however, in order to view the note.
| |
|