Set up categories to appear on the cash flow report.
From the Main Menu, select Reports -> Ledger -> Cash Flow Report.
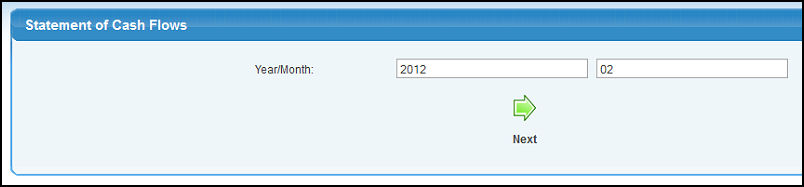
Your screen should look similar to this:
Year/Month: Enter the year in the first box and month in the second.
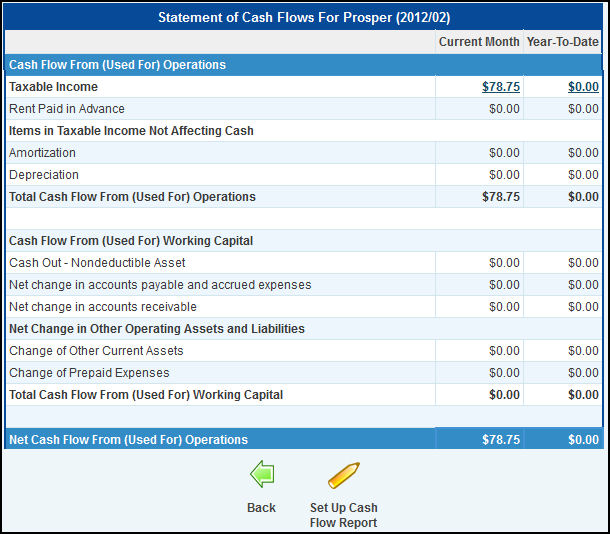
Click Next to continue and your screen should look similar to the following:
Clicking an amount in the Taxable Income row will bring up a screen with more information.
Click Back to return to the previous screen without saving your changes.
Click Set Up Cash Flow Report to set up options for your report. Your screen will look similar to the following:
Category: If editing, select the category you would like to edit from the drop-down menu.
Click Edit to edit the selected category or Add to create a new category.
Whether adding or editing, your screen should look similar to the following:
Category: Select a category from the drop-down menu.
Name: This is the name that will appear under this category and will identify the GL account it is associated with.
Reverse Sign: Select Yes or No to choose whether a reverse sign is used on the account balance.
Add General Ledger Account: Enter an account name (or partial name) to bring up a list of possible matches. To add the account, click Add GL Account To This Item and it will appear in the Current GL Accounts section.
Current GL Accounts: The assigned GL accounts are listed. Click the "x" to the left of the account to remove that account.
Click Back to return to the previous screen without saving.
Click Save to save your changes.
If editing, click Delete to delete the category options.
 Next to continue and your screen should look similar to the following:
 Back to return to the previous screen without saving your changes.
 Set Up Cash Flow Report to set up options for your report. Your screen will look similar to the following:
 Add to create a new category.
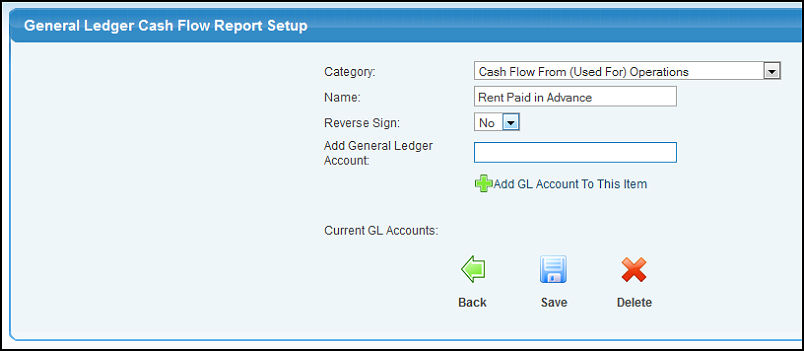
 Save to save your changes.
 Delete to delete the category options.