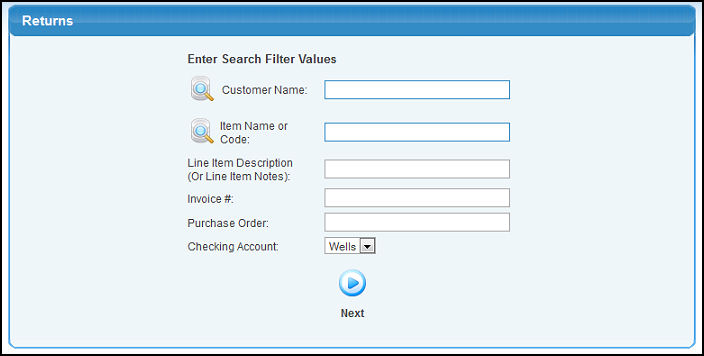
From the Main Menu select Billing -> Invoices -> Item Returns. Your screen should look similar to this:
Customer Name: Enter a customer name (or partial name) to bring up a list of possible matches. Click to search for the customer by other fields such as phone or email.
Item Name or Code: Enter an item name or code (or partial name or code) to bring up a list of possible matches. Click to search for the item by other fields such as category or vendor.
Line Item Description: Enter a line item or notes description to search for invoices with that information.
Invoice #: If you know the invoice number, enter it here. The other fields can be left blank.
Purchase Order: Enter a purchase order number to search by, if applicable.
Checking Account: Choose the checking account from the drop-down list the refund will be issued from.
Click the Next
button. Your screen should look similar to this:
To view an invoice, click the View button for that invoice.
To create a return, click the Create Return button for that invoice.
Click Back to return to the previous screen.
Your screen should look similar to the following when selecting Create Return:
Check the Quantity Returned box and enter a quantity for each item being returned.
Click Back to return to the previous screen without saving.
Click Create Credit Memo to continue and your screen should look similar to the following:
Include In Refund/Amount To Refund Place a check in this box and the Amount To Refund box to the right will populate with the return amount. This number can be changed to an amount lower than the credit if necessary.
Amount of Refund: This field will populate with the amount in the Amount To Refund box above.
Check Date: Enter the check date or click the calendar button to choose a date.
Pay How: Choose the payment method of the return from the drop-down list.
Endorser: Enter the name of the check endorser.
Check #: This field will populate with the next available check number but can be changed if necessary.
Click Back to return to the previous screen.
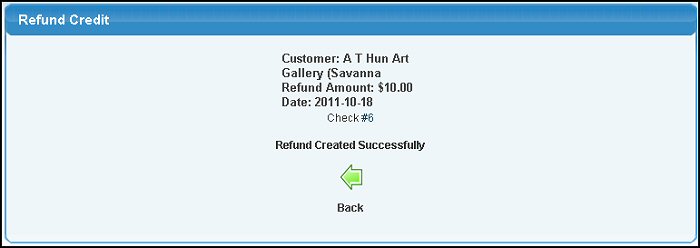
Click Create Refund to create the refund and your screen should look similar to the following.
 to search for the customer by other fields such as phone or email.
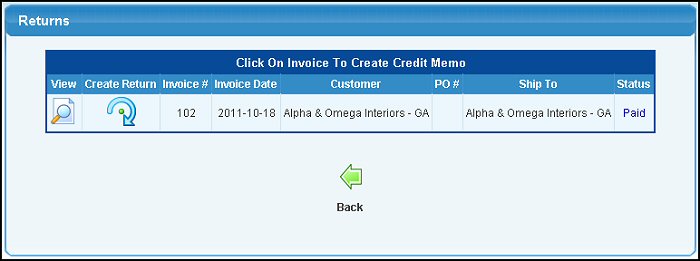
 View button for that invoice.
 Create Return button for that invoice.
 Back to return to the previous screen.
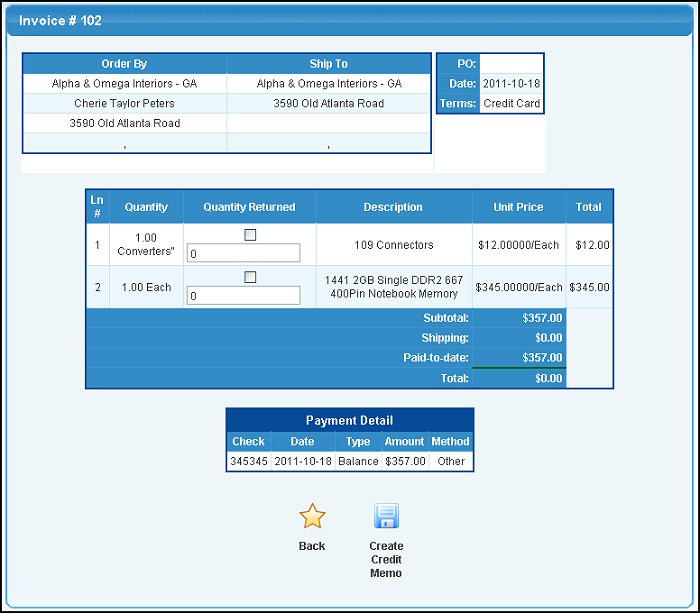
 Back to return to the previous screen without saving.
 Create Credit Memo to continue and your screen should look similar to the following:
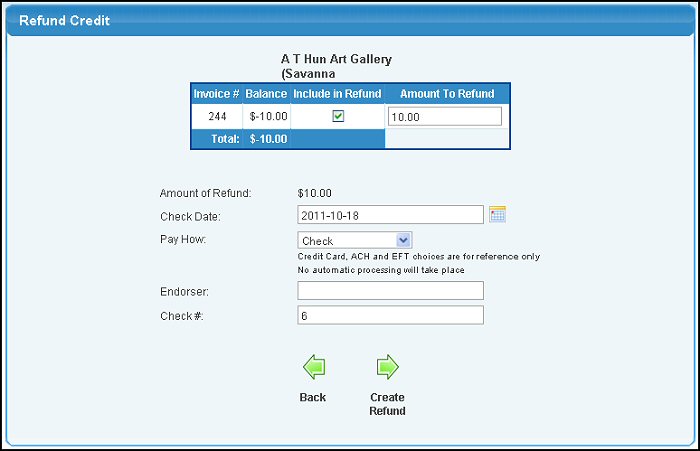
 Create Refund to create the refund and your screen should look similar to the following.