This add-on allows you to quickly import transaction data from your bank statement in OFX format.
From the Main Menu, select Tools -> Imports -> Import Bank Statements.
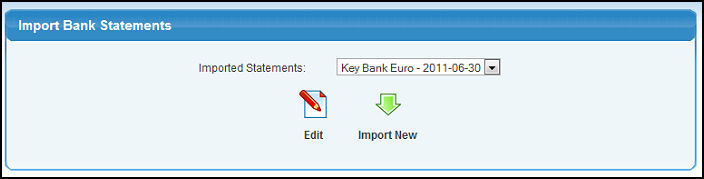
Your screen should look similar to this:
Imported Statements: If there are any previously imported statements they will be displayed in this drop-down list.
Click Edit to edit an existing bank statement import.
Click Import New to import a new statement.
Your screen should look similar to the following if choosing Import New:
OFX File: Click the Browse button to select the OFX file to import.
Bank Account: Choose the bank account to import into from the drop-down menu.
End Bank Statement Date: Click the Calendar button to select the bank statement end date.
Click Back to return to the previous screen.
Click Import to continue and your screen should look similar to the following:
A message at the top of the screen will indicate the records were imported successfully and they will display below.
The system will automatically suggest links to checks, electronic payments and deposits inside NolaPro. You can review and unlink these matches if necessary. If no link is found, click the Add GL link in the Action column to create a link.
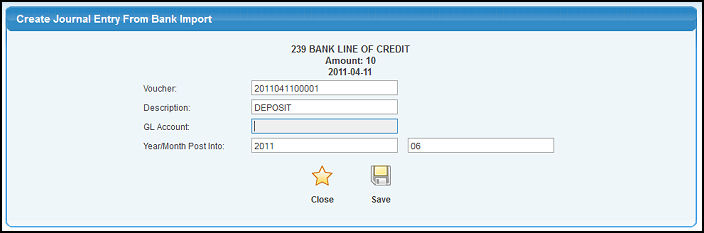
If adding a link your screen will look similar to the following:
Voucher: This will be auto-populated and is displayed for reference.
Description: Description of the transaction displayed for reference.
GL Account: Enter an account (or partial account) to bring up a list of possible matches.
Year/Month Post Into: Enter the year in first box and month into the second of the period you would like this to post into.
Click Back to return to the previous screen.
Click Save to save your changes.
Click Delete to delete the statement import.
Edit an Existing Import
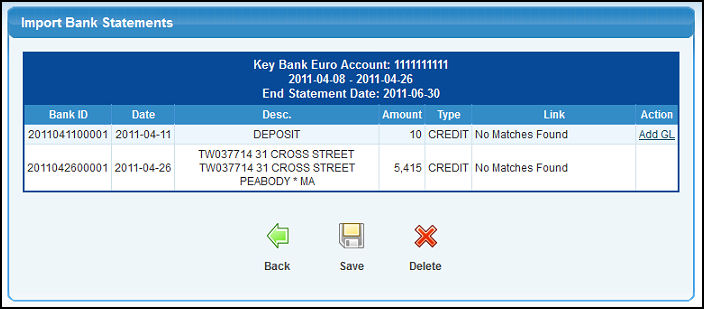
If you clicked Edit on the first screen your screen should look similar to the following:
A list of records for the bank statement will appear. Transactions can be updated by unlinking existing links or updating the link. If no link is present you can add a link by clicking Add GL in the Action column.
Click Back to return to the previous screen without saving.
 Import New to import a new statement.
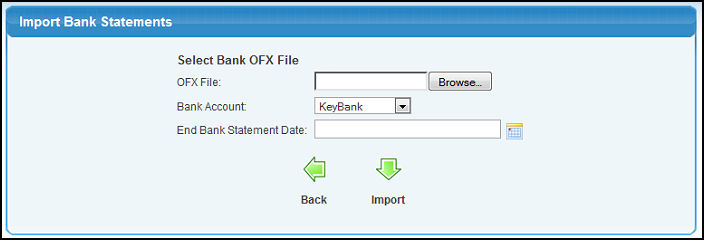
 Back to return to the previous screen.
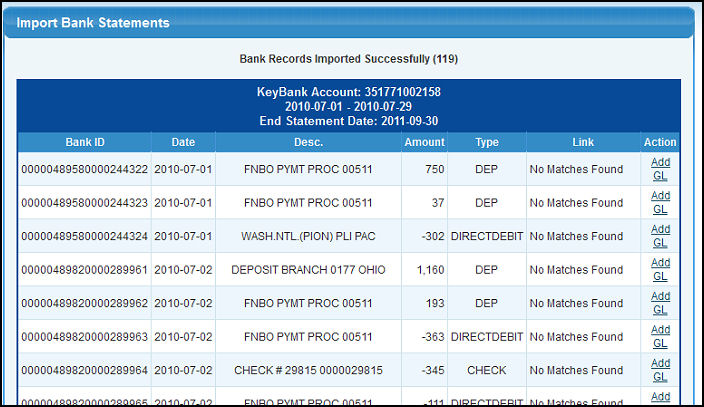
 Save to save your changes.
 Delete to delete the statement import.