Use this chapter when you receive a shipment from your vendor when you used a Purchase Order number for the order.
- From the Main Menu, select Payables -> Purchasing -> Receive Items on PO.
- Your screen should look similar to this:
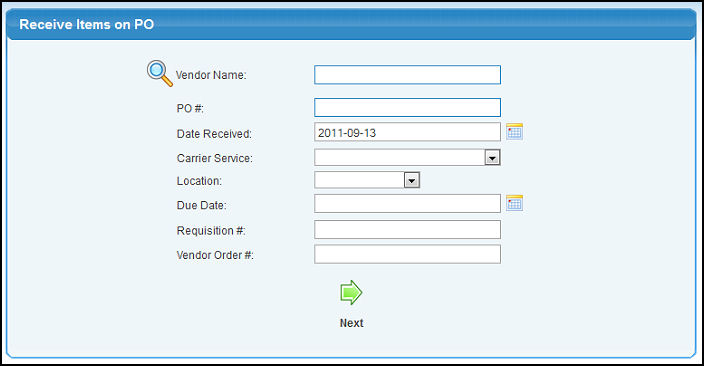
- Enter search data in one or more of the following categories: NOTE: If you know the PO number, that is the only information you need enter.
- Vendor Name: Enter Vendor Name (or any portion of the name) to bring up a drop-down of possible matches. If you want to search by phone, zip code, etc., use the
 Lookup button for detailed searches. Lookup button for detailed searches.
- PO #: This is the Purchase Order number that you originally entered. NOTE: If you know the PO Number, you do not need to enter any other information, just click on the
 Next button. Next button.
- Date Received: This will default to today's date but can be changed by clicking the
 Calendar button. Calendar button.
- Carrier Service: Select the Carrier Service you would prefer to use from the pull-down list.
- Location: Where the items being purchased should be delivered. Select a location from the pull-down list.
- Due Date: Enter the date you expect to receive this purchase. You can either enter the date manually or click the Calendar button to select the date from a calendar.
- Requisition #: Enter the Requisition Number your company has assigned to this Purchase as authorization to place the order (if known). NOTE: If you know the Requisition #, you do not need to enter any other information, just click on the Next button.
- Vendor Order #: Enter the Vendor Order # provided to you by your vendor (if known). NOTE: If you know the Vendor Order #, you do not need to enter any other information, just click on the Next button.
- To view a list of Purchase Orders the meet your criteria, click on the Next button. If more than one PO matches the entries made, your screen should look similar to this:
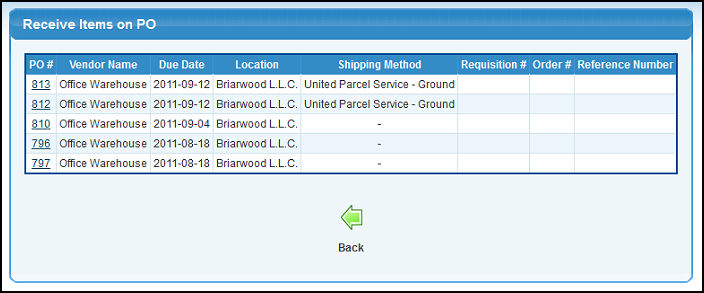
- To return to the previous screen WITHOUT making any changes, click on the
 Back button. Back button.
- To receive items on a Purchase Order, click on the desired PO #. Your screen should look similar to this:
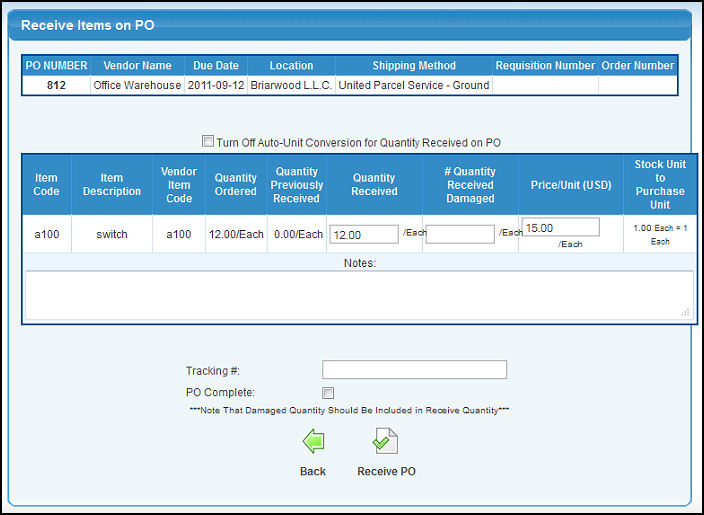
What you see will be a header section showing the general information about this PO, followed by a listing of all the items ON the PO showing how many were ordered, how many have already been received, and giving you a place to enter newly received quantities and to change the price.
- Enter data in the following categories:
- Quantity Received: Enter the actual quantity you received from the vendor, not the quantity you ordered.
- Quantity Received Damaged: Enter the quantity of received items that were damaged. NOTE: Include this count in the Quantity Received quantity entered.
- Price/Unit: Enter the price you were charged on the invoice, NOT the price you put down in the original Purchase Order. Make note you are putting the price for the units shown (i.e. For example, enter the price of a Carton not the price per item).
- Notes: Enter any notes regarding this receipt of items.
- Tracking #: You will find this number on the packing slip or on the outside of the box.
- PO Complete: Check this box ONLY if you received everything ordered on the Purchase Order.
- To go back to the list of Purchase Orders WITHOUT receiving any items, click on the Back button.
- To receive the shipment, click on the
 Receive PO button. You will see a confirmation screen similar to this: Receive PO button. You will see a confirmation screen similar to this:
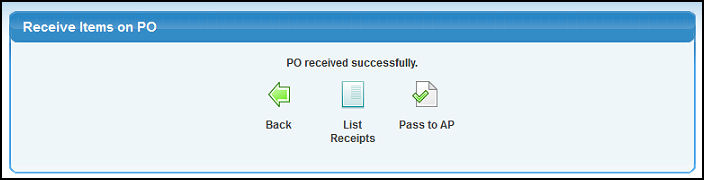
- To go back to the list of Purchase Orders, click on the Back button.
- To see a purchases received list, click on the
 List Receipts button and your screen should look similar to the following: List Receipts button and your screen should look similar to the following:
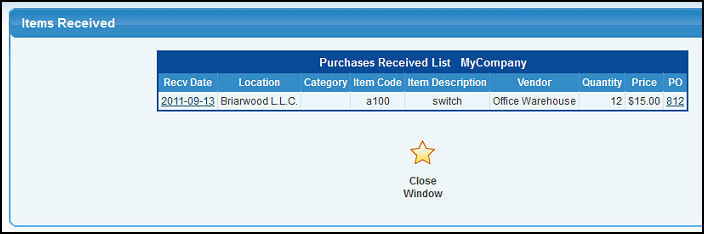
- Recv Date: Click on the Recv Date for more information.
- Click on the PO number to bring up the Edit PO screen.
- Your screen should look similar to the following if clicking the Recv Date:
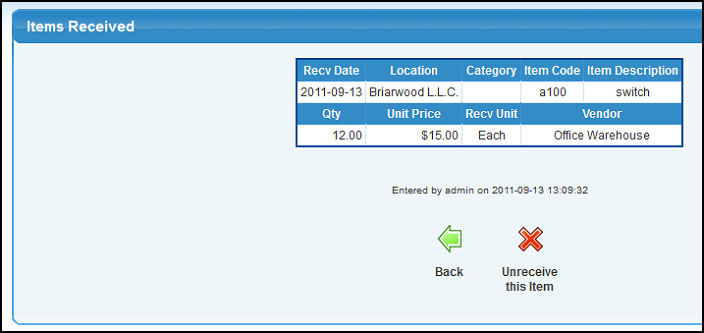
- To return to the previous screen, click the
 Back button. Back button.
- Click
 Unreceive this item to unreceive. Unreceive this item to unreceive.
- Click
 Pass to AP button to pass this PO to AP. See Completed PO to AP in the related topics section at the bottom of this screen for more information. Pass to AP button to pass this PO to AP. See Completed PO to AP in the related topics section at the bottom of this screen for more information.
|