|
|
Use this screen to make adjustments to the cost of inventory items.
- From the Main Menu, select Inventory -> Inventory Items -> Item Cost Adjustments.
- Your screen should look similar to this:
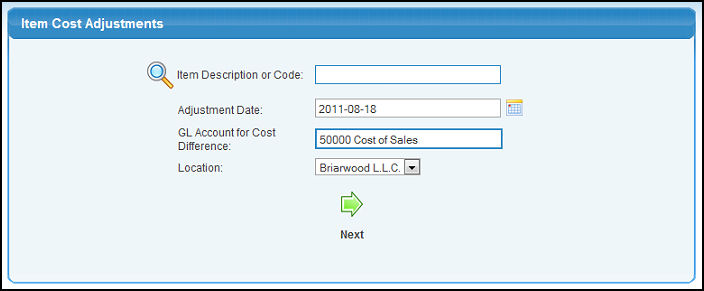
- Item Description or Code: Enter in the item description (or a partial description) to bring up a drop-down of possible matches.
- Adjustment Date: Although this date will default to current date, if you need to back-date an adjustment to inventory, then enter that date here. This will affect the date on the journal entries for General Ledger, as well as the dates on the item activity reports. You can click on the
 Calendar button to bring up a calendar to select the date or enter it in manually. Calendar button to bring up a calendar to select the date or enter it in manually.
- GL Account for Cost Difference: Enter the account name (or a partial name) to bring up a drop-down of possible matches.
- Location: If your company is set up for multiple locations, select a item location from the pull-down list.
- Click on the
 Next button. Your screen should look similar to this: Next button. Your screen should look similar to this:
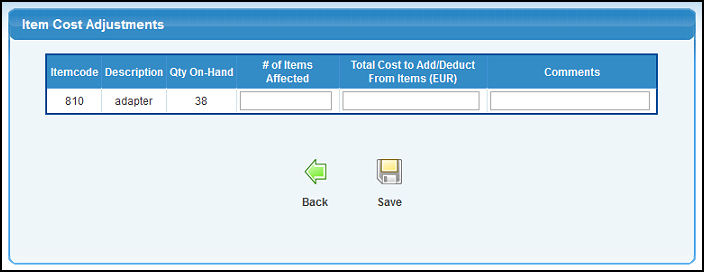
- # of Items Affected - Enter in the number of items you want to adjust the cost for. Refer to the Quantity on Hand column if you want to adjust all of the particular item.
- Total Cost to Add/Subtract From Items - Enter in the amount you want to increase or decrease the cost by.
- Comments - If desired, type in any comments you want to make regarding this adjustment.
- To return to the previous screen WITHOUT saving your changes, click on the
 Back button. Back button.
- To save your changes, click on the
 Save button. Save button. | |
|