|
|
Use this program to define any different types of vendors you may have.
- From the Main Menu, select Admin -> Setup - Payables -> Vendor Types.
- Your screen should look similar to this:
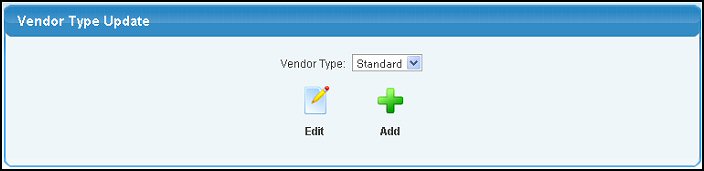
- To EDIT the an existing Vendor Type record, do the following:
- Select the Vendor Type: your want to edit from the pull-down list.
- Click the
 Edit button. Edit button.
- To ADD a new vendor type, click on the
 Add button. Add button.
- Whether EDITING or ADDING, your screen should look similar to this:
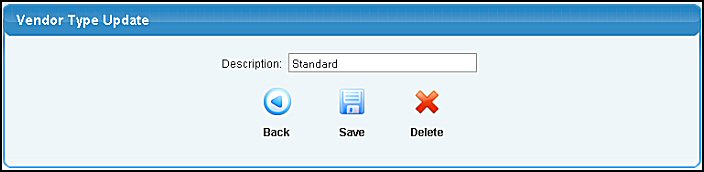
- Enter/Modify data in the following categories:
- Description: Enter the vendor type you want to have.
- To save your changes, click on the
 Save button. Save button.
- To DELETE the Vendor Type (only available if EDITING), click on the
 Delete button. Delete button.
- To return to the previous screen WITHOUT SAVING your changes, click on the
 Back button. Back button.
| |
|