|
Gather actual counts when taking a physical inventory in order to correct on-hand quantities to reflect actuals.
- From the Main Menu, select Inventory -> Physical Inventory.
- Your screen should look similar to this:
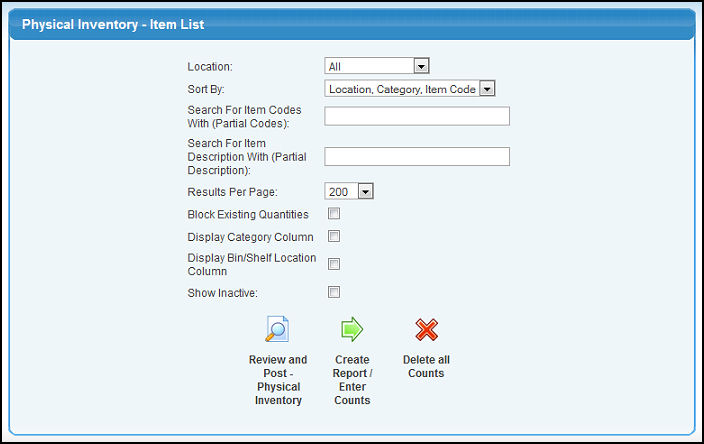
- Enter the information in the following categories to narrow your selections:
- Location: (if you only have one location, you will not see this pull-down). Select the Location from the pull-down list. Select ALL in the list for all locations. For information on setting up Locations, see Locations in the Related Topics section at the bottom of this Help topic.
- Sort by: Select how you would like the report sorted from the choices shown in the pull-down list.
- Search for Item Codes/Search for Item Description: Enter an Item Number (or part of a number) in the Search for Item Code box or enter an Item Description (or part of a description) in the Search for Item Description box.
- Results per Page: Select the number of results you would like to see per page from the pull-down list.
- Block Existing Quantities: Check this box to keep any quantities from printing. This allows you to create a "counting" sheet for tallying actual physical inventory counts.
- Display Category Column: Check this box to print the Item Category on the Physical Inventory Report. You can still select a specific Item Category to print even if you choose not to print the column.
- Display Bin/Shelf Location Column: Check this box to print the Item's Bin/Shelf location on the report.
- Show Inactive: Check this box to include inactive items on the report.
NOTE: To verify and post the amounts entered(see details further down), click on the  Review and Post Physical Inventory button. Review and Post Physical Inventory button.
NOTE: To clear out any counts and start in with a clean slate, you can Delete any previous counts by clicking on the  Delete all Counts button. If you click on the delete, you will be asked if you are sure. When the process is complete you will see a message saying the counts have been deleted. Delete all Counts button. If you click on the delete, you will be asked if you are sure. When the process is complete you will see a message saying the counts have been deleted.
- To enter your physical inventory count, click the
 Create Report/Enter Counts button. Create Report/Enter Counts button.
Note: If you chose to block the quantities from printing, you will only see the box to enter the Inventory Count and the unit of measure for each item.
- Your screen should look similar to this:
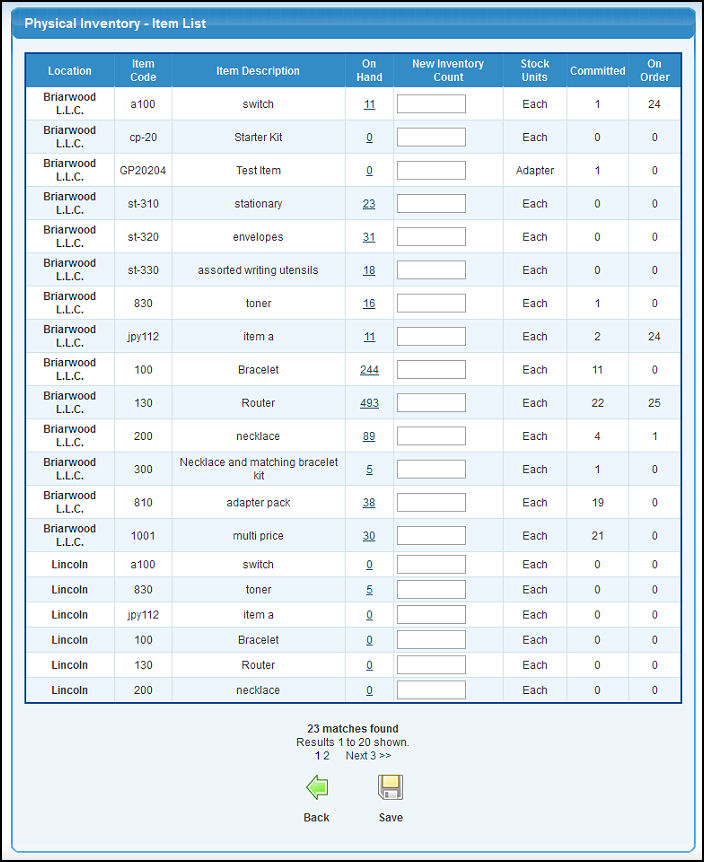
- Enter the following information on this screen:
- On-Hand column - To keep the inventory count the same, click on the number (shown in blue) in the On-Hand column.
- New Inventory Count - Enter the quantity counted in the New Inventory Count box.
- Next (##) or Page Numbers - To move to another page, click on the Next (##) link to see the next page(s) of results OR click on any of the numbers (pages) shown at the bottom of the screen to jump to a specific results page.
- To search again WITHOUT saving your changes, click on the
 Back button. Back button.
- To save your changes, click on the
 Save button. Your screen should look similar to this: Save button. Your screen should look similar to this:
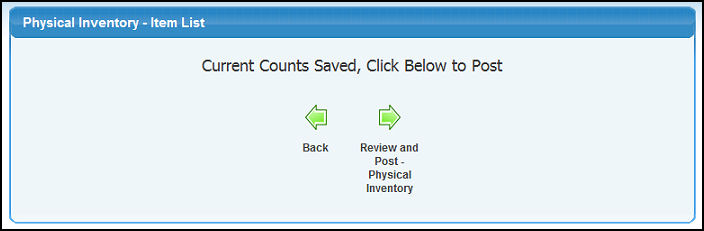
- To search again, click on the Back button.
- To verify and post the physical counts entered, click on the Review and Post Physical Inventory button. Your screen should look similar to this:
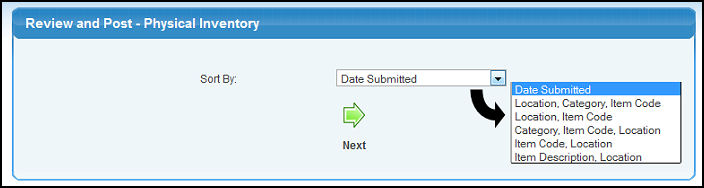
- Select how you would like to sort the data from the pull-down list.
- To continue, click on the Next button. Your screen should look similar to this:
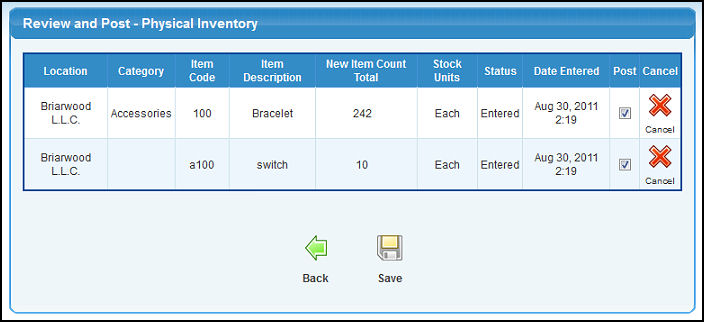
- If you do not want to post the new count for this specific item, click on the
 Cancel button. Cancel button.
- Check the Post box for each item ready to be updated to Inventory. Checking this box selects this item's physical count to be updated in Inventory and the value of the change in inventory posted to the General Ledger.
- To CANCEL all updates and return to the previous screen, click on the Back button.
- To update Inventory counts and post adjustments for any differences (for the items with the Post box checked), click the Save button.
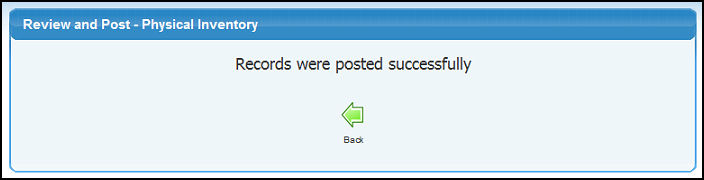
- You will receive a confirmation screen stating your changes have been updated (as shown below). To return to the Physical Inventory screen, click on the Back button.
|