This screen allows you to select the login page graphic and the footer graphic for NolaPro. You can also use these to "seasonalize" your site or to make them follow your company image. Images selected here will be the same for all companies defined in your NolaPro.
- From the Main Menu, select Admin -> Admin Setup -> Logo Branding. If no graphic exists, you will only see the View/Upload/Delete - Custom Logo for Login Page and View/Upload/Delete - Custom Logo for Footer links. Your screen should look similar to this if you have a graphic attached:
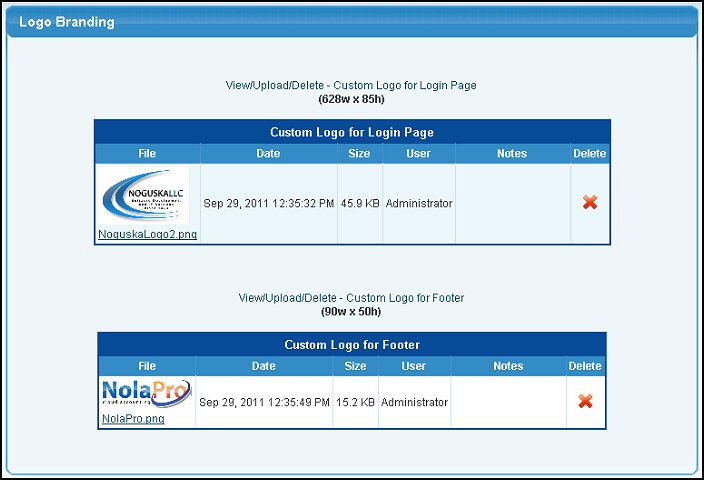
- If you want to change an existing graphic, you must first delete the graphic shown. To do that, you must click on the
 Delete button in the header. Delete button in the header.
- To add a graphic, click on the words "View/Upload/Delete". Your screen should look similar to this:
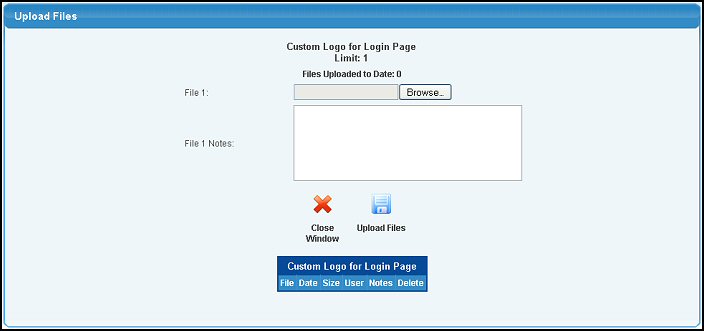
- File 1: To locate your graphic, click the Browse button, find your graphic file and click OK.
- File 1 Notes: Although it doesn't show anywhere except on these setup screens, sometimes a note about where you obtained a graphic or some other piece of information might prove useful.
- To return to the previous screen WITHOUT saving your changes, click the
 Close Window button. Close Window button.
- To save your settings, click on the
 Upload Files button. Upload Files button.
Changing the Login Page graphic, will cause the graphic to appear on your logon page in the following manner:

Changing the Footer graphic, will cause the graphic to appear on all your footers in the following manner:

|