Sign on to the Business-to-Business site.
- Your login screen should look similar to this:
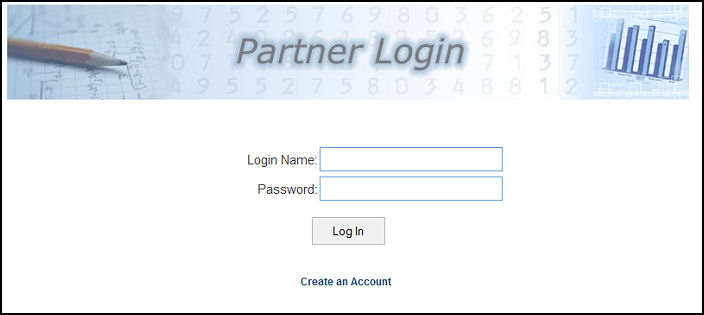
- Login Name: Enter your Login Name.
- Password: Enter your Password.
- Click on the Log In button to enter the site.
- If you clicked on the Create an Account link (only shows if you have set up your company to allow this), your screen should look similar to this:
Note: If NolaPro is set up for multiple companies there will be a drop-down box to select which company the account will be created in.
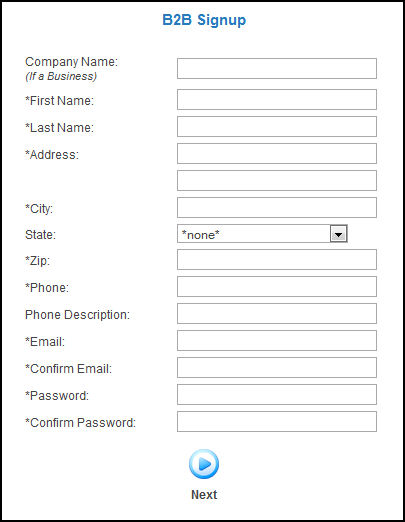
- Group: You may not see this option, but if you do, select your preferred group from the drop-down list. Customer groups can be set up by going to Admin -> Setup Receivables -> Customer Groups.
- User Information: Enter the requested information, paying special attention about filling in the fields with stars next to them -- they are required.
Note: Your email will be your login name for future site access!
- Click on the Next button to create your account.
|