|
|
States and Provinces must be defined in NolaPro. United States and many Canadian and Mexican provinces come already provided with a standard NolaPro installation.
- From the Main Menu, select Admin -> Admin Setup -> States.
- Your screen should look similar to this:
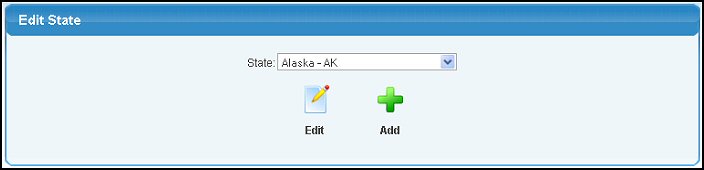
- From here, you can Add a new State or Province by clicking the
 Add button or Edit an existing State by selecting the State from the drop-down list and clicking the Add button or Edit an existing State by selecting the State from the drop-down list and clicking the  Edit button. Edit button.
- Your screen should look similar to this:
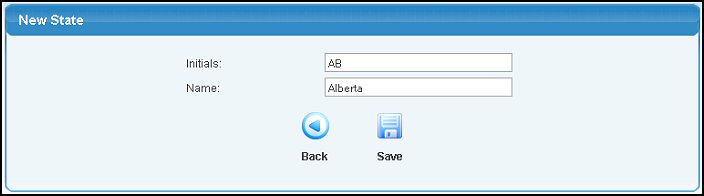
- Make any updates or changes to the name of the state or the initials. NOTE: A maximum of up to five-character initials are allowed for each entry.
- To SAVE your changes, click on the
 Save button. Save button.
- To DELETE the State, click on the
 Delete button. Delete button.
- To return to the previous screen WITHOUT saving your changes, click on the
 Back button. Back button.
| |
|