|
|
Use this area to setup the actions, conditions for returned items, etc. for using RMA process for fulfillment orders.
- From the Main Menu, select Admin -> Setup Orders -> RMA Setup.
- Your screen should look similar to this:
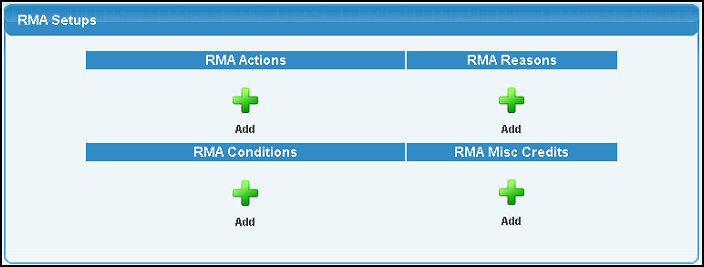
There are four areas to be set up. You will need to have information entered into each one. To add a new one to any of the four areas, click on the  Add button under the item. Or, highlight one of the drop-down items if you already have some entered, and click on the Add button under the item. Or, highlight one of the drop-down items if you already have some entered, and click on the  Edit button. Edit button.
RMA Actions
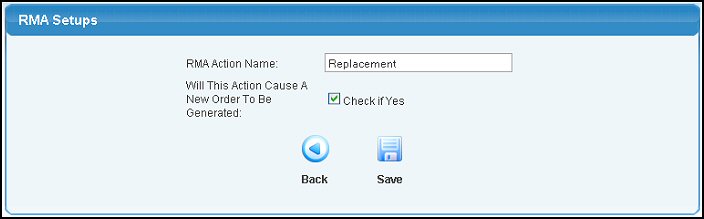
- RMA Action Name: The name of this action. This is what you expect to happen for this item: Return for replacement, return for different product, return no replacement, etc.
- Will this action cause a new order to be generated: Check the box if the return requires sending something else out to the customer once it is received.
- Click the
 Back button to return to selections without saving changes. Back button to return to selections without saving changes.
- Click the
 Save button to save changes. Save button to save changes.
- If editing, you can click the
 Delete button to delete. Delete button to delete.
RMA Conditions
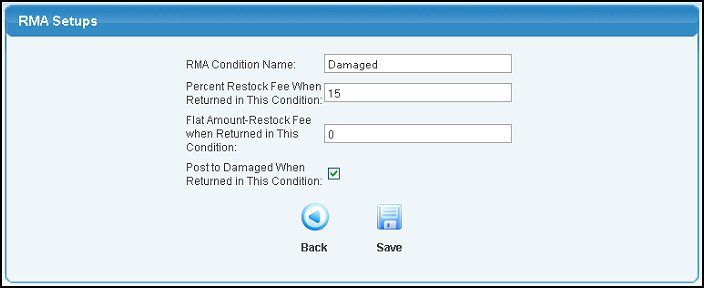
- RMA Condition Name: The name of this condition upon return. This is the condition of the returned product (damaged, good, etc.).
- Percent Restock Fee: The percent of the price to be deducted from any refund for restocking the product.
- Flat Restock Fee: The dollar amount to be deducted from any refund for restocking the product.
- Post to damaged when returned in this condition: Check this box if the item returned does NOT go back into inventory, but rather to damaged goods.
- Click the
 Back button to return to selections without saving changes. Back button to return to selections without saving changes.
- Click the Save button to save changes.
- If editing, you can click the Delete button to delete.
RMA Reasons
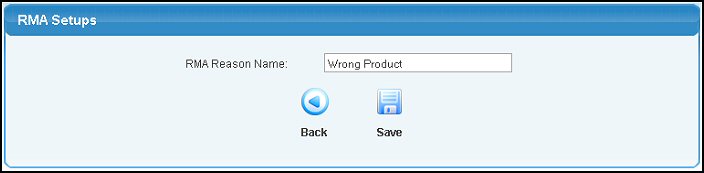
- RMA Reason Name: The name of the reason given for returning the product.
- Click the Back button to return to selections without saving changes.
- Click the Save button to save changes.
- If editing, you can click the Delete button to delete.
RMA Credit

- RMA Credit Description: The reason why a credit is being issued.
- Apply Tax Credits to Amounts: Should taxes be calculated on the credit being issued? If so, check the box.
- Post to What GL Account: Credits issues should post to what account for General Ledger.
- Click the Back button to return to selections without saving changes.
- Click the Save button to save changes.
- If editing, you can click the Delete button to delete.
| |
|