The New Shipment process helps you create a new shipment, print box labels and packing slips.
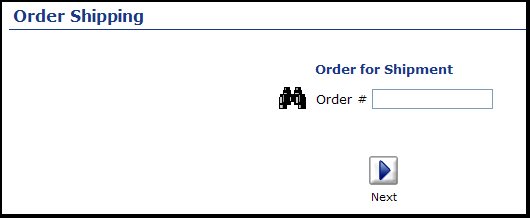
From the Main Menu select Printing then Processing then New Shipment. Your screen should look similar to this:
Enter the order number and click on the Next button.
If you have made no prior shipments you will just see the top part of this screen as far down as the "SAVE" button. The bottom portions are so you can reprint box labels and packing slips for previous shipments.
Ship To: Pick from the list of available ship-to addresses for this customer.
Qty to Send: You can either click on the ALL button to auto-insert the remaining order quantity, or you can manually enter a quantity in the box.
Notes: Add any notes you want associated with this shipment for future reference
Save: Click on the Save button to save the new shipment information.
Packing Slip
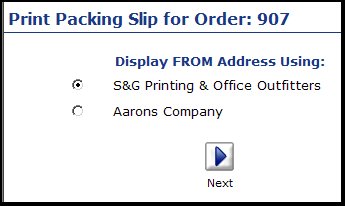
Click on one of the Print Packing Slip buttons to bring up the following screen:
Select a "FROM" option (this is so if you do drop-shipments, you can make the packing slip appear to come from your customer to their customer rather than from you to your customer).
Next: Click on the Next button to bring up a packing slip like the following:
Box Label
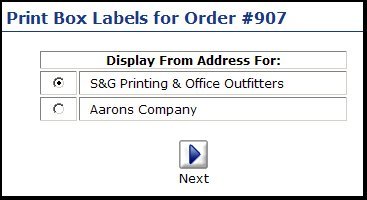
Click on one of the Print Box Label buttons to bring up the following screen:
Select a "FROM" option (this is so if you do drop-shipments, you can make the Box Label appear to come from your customer to their customer rather than from you to your customer).
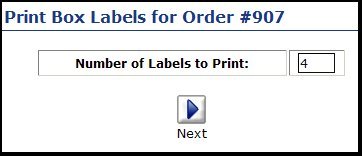
Number of Labels: Enter the number of labels required.
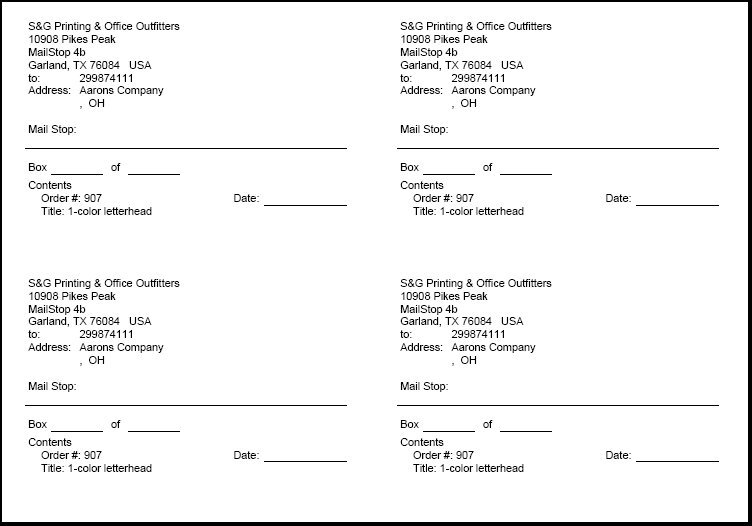
Next: Click on the Next button to bring up a label like the following (4 labels per 8.5x11 sheet):
 Next button.
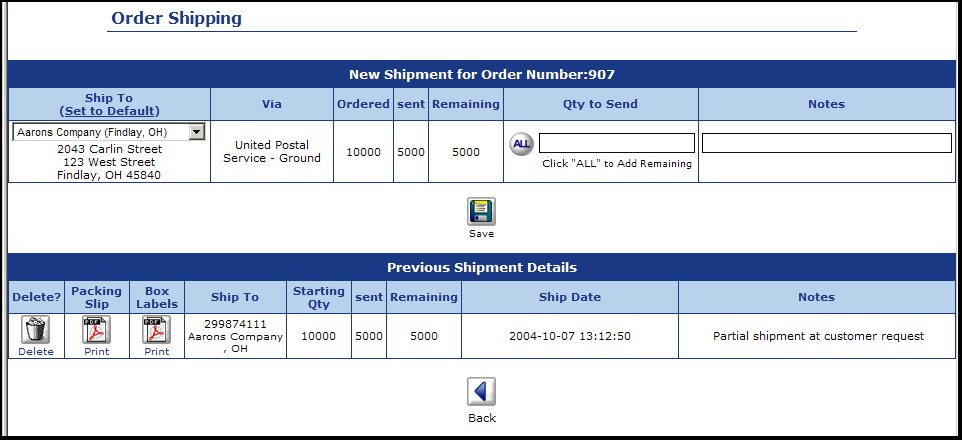
 Save button to save the new shipment information.
 Print Packing Slip buttons to bring up the following screen: