Using NolaPro - Standard Version
>
Processing
Print Order Processing - Return Proof
The Returned Proof process helps you track whether a proof has been approved or rejected and when.
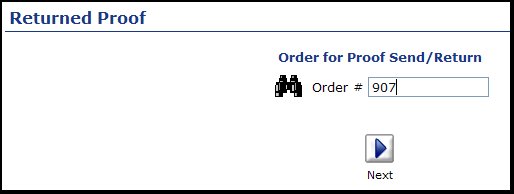
From the Main Menu select Printing then Processing then Returned Proof. Your screen should look similar to this:
Enter the order number and click on the
Next button.
Select the proof that was returned, and click on the
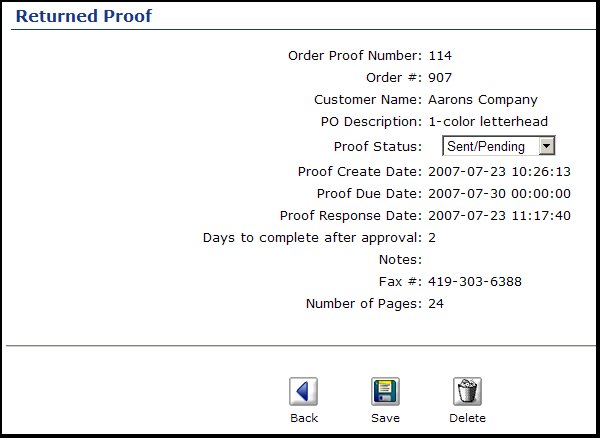
Next button. This will bring up the details:
Proof Status Level:
Select status from the drop-down.
Save:
Click on the
Save button to complete the proof.
Back:
Click on the
Back button to abandon any entries made for this proof.
Delete:
Click on the
Delete button to delete the proof.
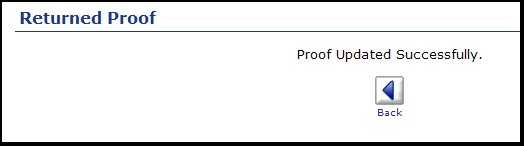
When SAVING, the following screen will appear:
Click on the
Back button to enter a new job number.
 Next button.
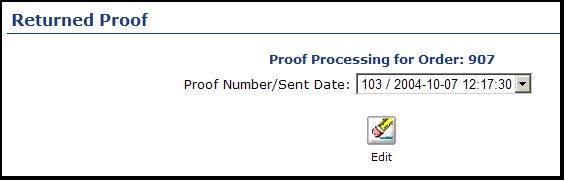
 Save button to complete the proof.
 Back button to abandon any entries made for this proof.
 Delete button to delete the proof.