| Using NolaPro - Standard Version > Processing |
Print Order Processing - Out to Proof
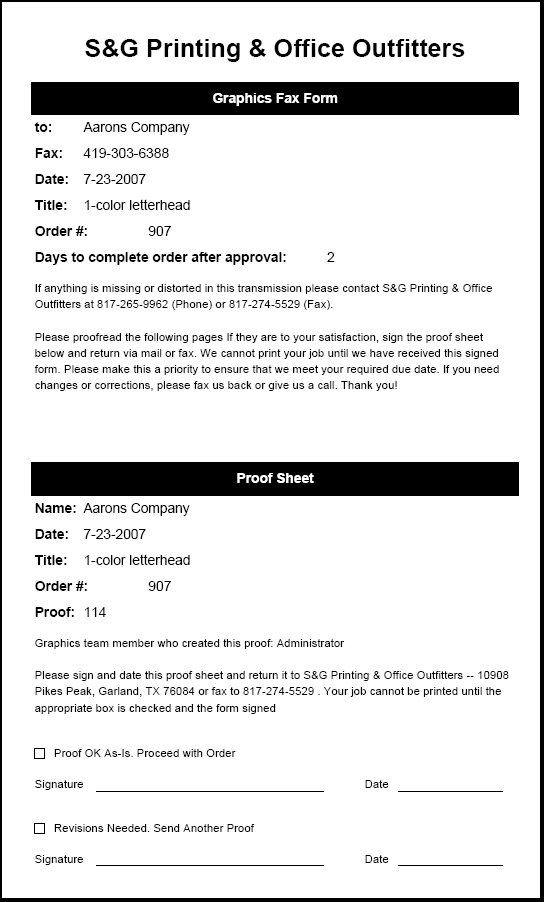
The Out to Proof process lets you create a proof form to send with the actual proof, as well as entering a proof return date and other information. From lists, you can see the status of a proof at a glance, and can track whether the proof was accepted/rejected, etc..
|
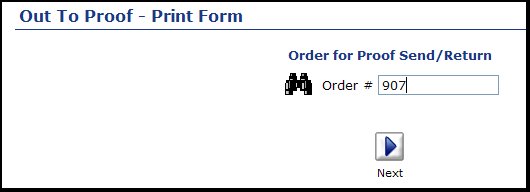
 Next button.
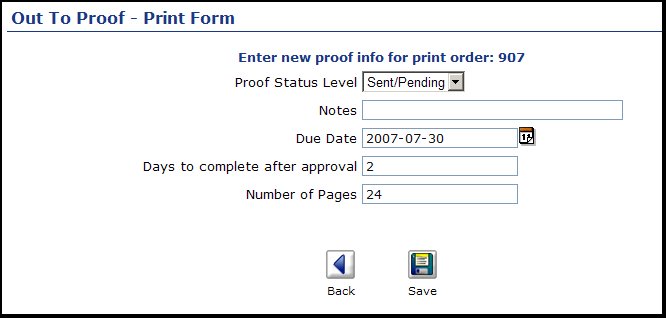
 Save button to complete the proof.
 Back button to abandon any entries made for this proof.
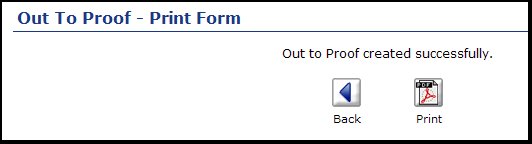
 PDF button to see and/or print a copy of the proof letter. Or click on the