Either create all the information for a pay period, or edit the information either before or after calculating a pay period (but before check writing).
- From the Main Menu, select Payroll -> Calculations/Checks -> Edit Employee Check.
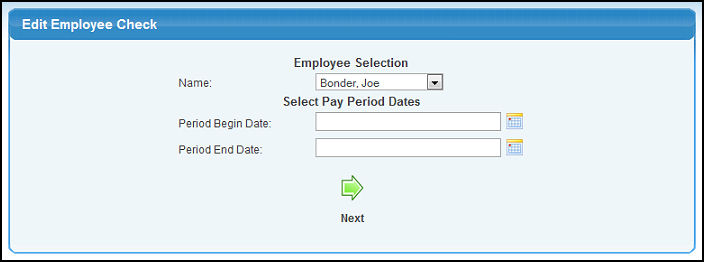
- Your screen should look similar to this:
- Enter/edit data in following categories:
- Name: Select Employee from the drop-down list.
- Period Begin Date: Beginning date of pay period. You can either enter the date manually or click the
 Calendar button to select the date from a calendar. Calendar button to select the date from a calendar.
- Period End Date: End Date of pay period. You can either enter the date manually or click the Calendar button to select the date from a calendar.
- To bring up the Edit/Entry screen, click on the
 Next button. Next button.
- Your screen should look similar to this:
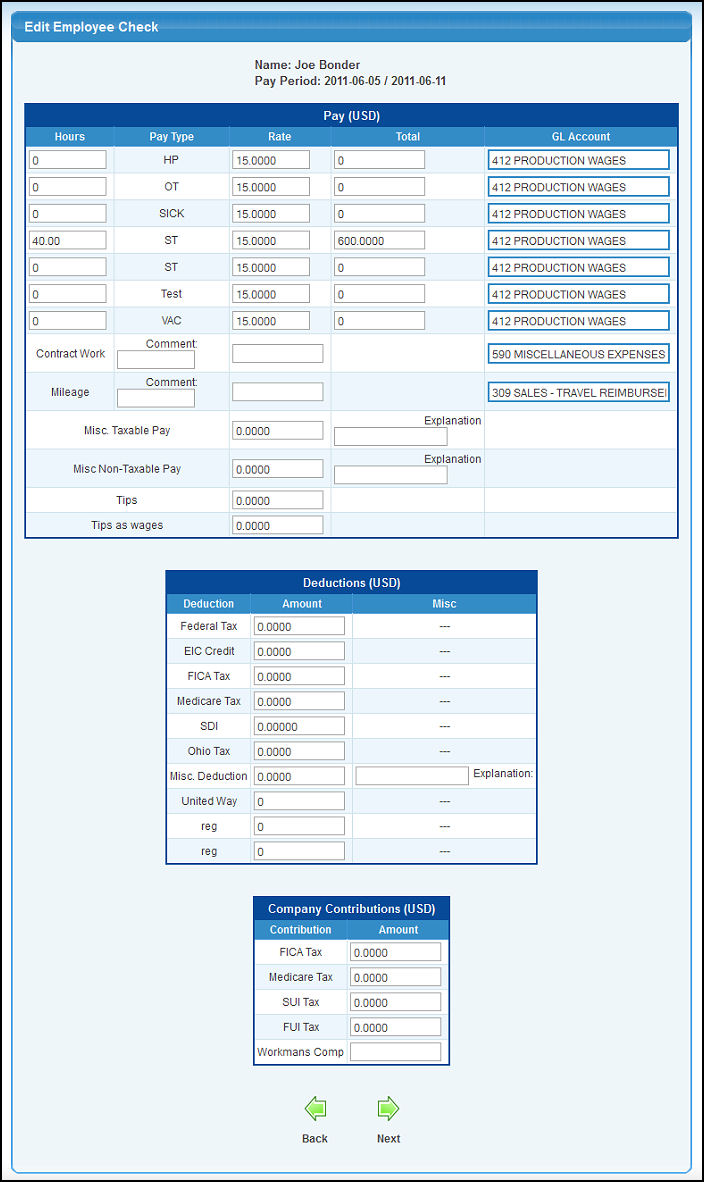
Note: If the pay period for this employee already has data, you will be in EDIT mode. If there is no matching pay period for this employee, you will come up in ADD mode (all data blank).
- Enter/edit data in the following categories:
- Hours: You will see multiple lines for hours and pay, one for each of your "pay types". The total pay will NOT calculate automatically, you will need to enter it.
- Rate: Enter the rate of pay for these hours.
- Total: Total pay (you will need to calculate this yourself using the edit method).
- GL Account: Enter the General Ledger Account for these wages.
- Benefits: Enter the dollar amount representing any standard benefits that might apply to this employee.
- Misc. Taxable Pay: Pay that is taxable aside from the hourly pay amounts.
- Misc. Taxable Pay Explanation: Explanation of reason for this misc. pay.
- Misc. Non-Taxable Pay: Pay that is NOT taxable (ex: reimbursements).
- Misc. Non-Taxable Pay Explanation: Explanation of reason for this misc. pay.
- Tips: Amount of tips reported.
- Tips as Wages: Amount of tips applied to total pay to bring employee up to minimum wage rate. This is used to determine employer matching taxes.
- Deductions: Each of the possible deduction types will be listed and you can enter/edit these deductions.
- Company Contributions: These are amounts that the company pays on behalf of an employee that an employee never sees on their checks.
- To return to the previous screen WITHOUT SAVING your changes, click on the
 Back button. Back button.
- To save the entered or edited information, click on the Next button to save the data. NOTE: No posting will take place to the General Ledger until you WRITE CHECKS.
- You will see a confirmation screen like this. To return to the Employee Check Edit screen, click on the Back button.

|