This area is for use when you want to send emails to customers, vendors, employees, etc.
- From the Main Menu, select Contacts -> Email Center.
- Your screen should look similar to this:
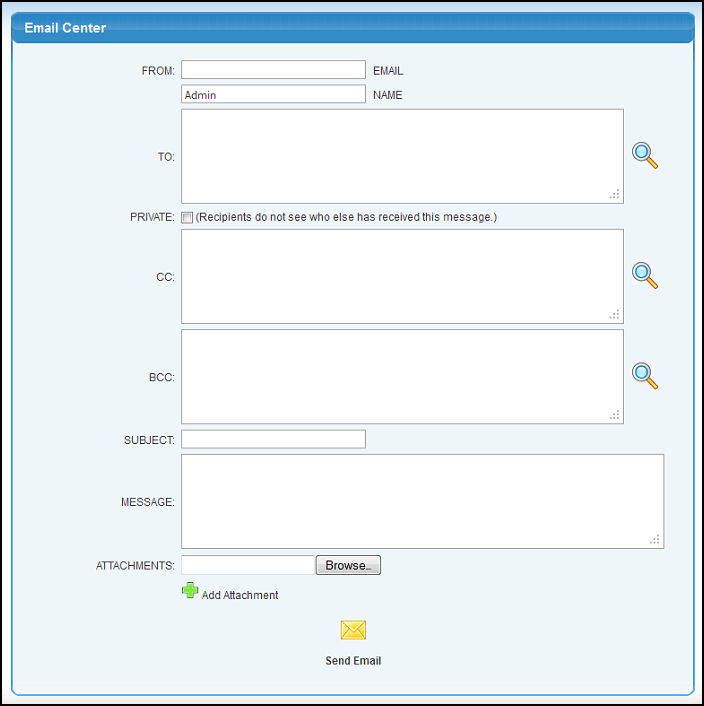
- Enter the following information:
- From: This should be the return email address (yours, most likely).
- Name: Name of who is sending the email (probably the company name).
- To:, CC: and BCC: You can either type in a list of email addresses, or you can use the search button to the right to select from groups (vendors, employees, etc.) NOTE: This search process is described in the next section.
- Private: Check this box if you want the email to appear to the receiver as though they were the only one getting the email.
- Subject: What you want to appear on the subject line of the email.
- Message: Text of what you want to say in the email.
- Attachments: If you want to attach a file, picture, or other, use the BROWSE button to find it and attach it. Click the Add Attachment
 button to add that attachment (this also allows you to then pick another attachment. Click on Attaching Files in the Related Topics section of this Help screen for instructions on using this feature. button to add that attachment (this also allows you to then pick another attachment. Click on Attaching Files in the Related Topics section of this Help screen for instructions on using this feature.
- To send the Email, click on the Send Email
 button. button.
If you clicked on one of the Search  buttons, you will see a screen like this: buttons, you will see a screen like this:
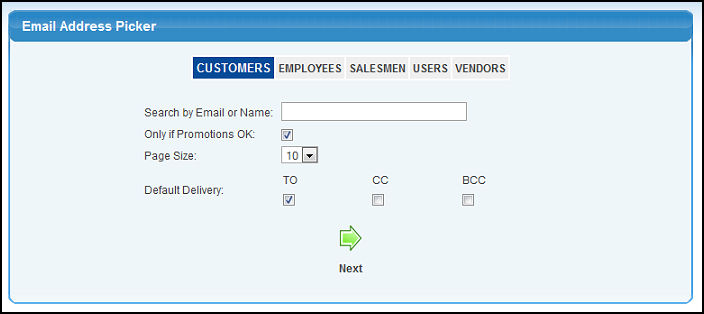
- Depending on which of the tabs is selected (Customers, Employees, Salesmen, Users, Vendors), the questions that appear may be somewhat different. However, the purpose of the questions is to limit the list that will appear when you click on the Next
 button. button.
- To see a list of addresses that meet your selection, click on the Next button
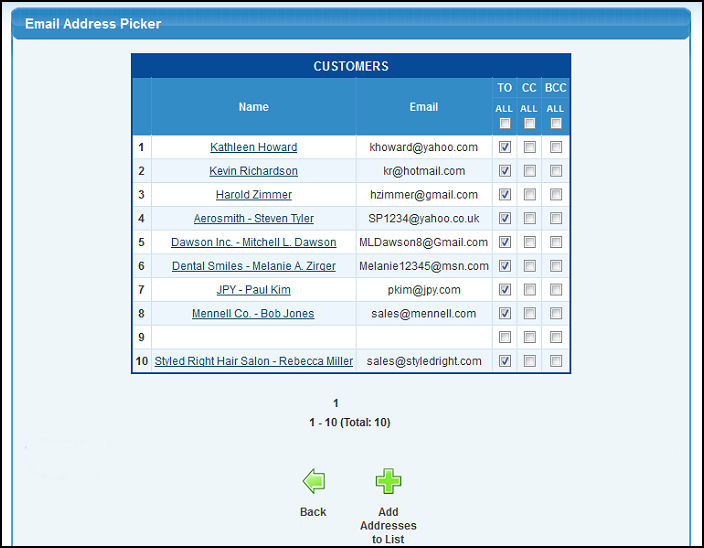
- Depending on the NUMBER PER PAGE selected on the prior screen, you may notice that you have a number of pages (shown as 1 2 3 >>) at the bottom of the screen. You can move between pages by clicking on the number of the page you want or by clicking on the >> arrows.
- Select all appearing in a page for either TO, CC or BCC by checking the ALL box in the appropriate column header.
- Select individual entries to receive the email by checking the box in the appropriate column for that entry.
- When you have selected all the ones you want to send an email to, click on the Add Addresses to List button. Your screen will now change to look similar to this:
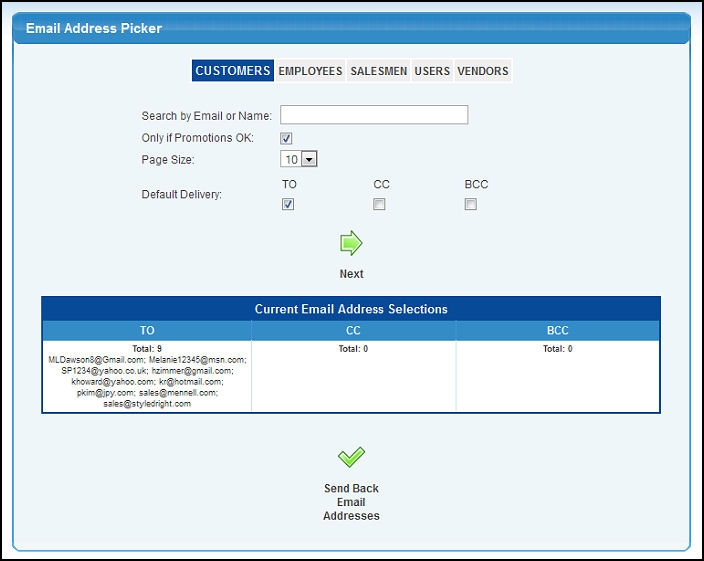
- At the bottom of the screen you will see a list of all addresses selected. You can then select a different tab, add more addresses, etc. until you have all the addresses you want. Then you will click on the Send Back Email Addresses button. This will insert the appropriate email addresses into your main email page.
|