| Using NolaPro - Standard Version > Print Shop Setup |
Work Areas
Work Areas should represent Departments within your printing plant. One might be Graphics & Typesetting, another Printing, another Bindery, etc. These names will show up repeatedly when using your program. They are the status headers in the Pending Order List, they are the tabs in the Time and Materials entry screens, etc. From the Main Menu select Printing then Setup then Work Areas. Your screen should look similar to this:
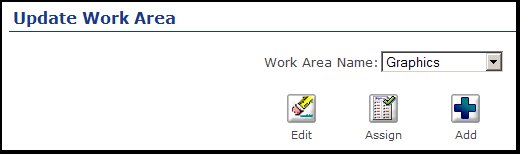
To Edit an existing work area, highlight the work area to be edited, and click on the To add a new work area, click on the Your screen should now look similar to this:
Edit the Work Area Name. Ask Instructions during Order Entry: Check this box if the answer is yes. During order entry, you can enter general production instructions. However, if you want to be able enter SPECIFIC instructions for just one department, check this box. Click the Click the Click the Assign Workarea Order and Purpose
From the first work area screen, click on 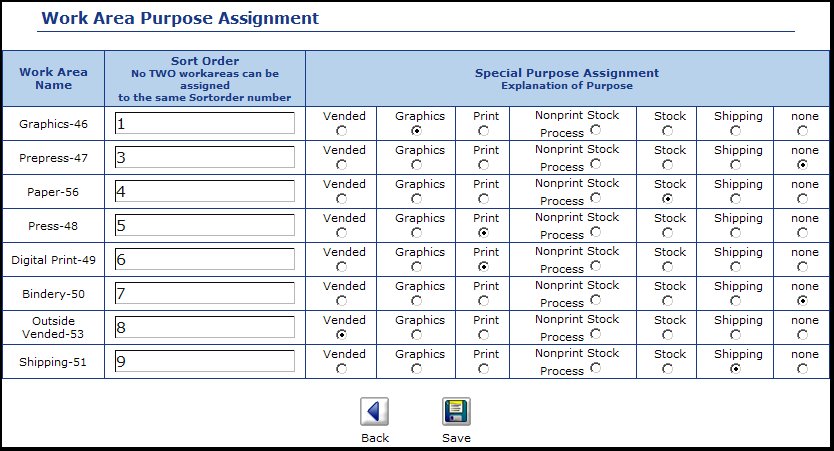 The left-most column is your list of work areas. The next column is the FLOW order of the work through these work areas. You cannot have two work areas with the same sort order number.
Special Purpose Assignments: Certain things are added to various screens in time and materials that are dependent on your selection of the right purpose. For example, in the Graphics purpose screens, you will see options about sending and receiving back proofs. Probably the most important one to get right is the one for printing. If the work area has a purpose of printing (and more than one CAN), the list of families using that work area will appear on the drop-down list of print machines to use (in the paper selection area of order entry). To Save your changes, click on the To exit without saving, click on the |
 Edit button.
 Add button.
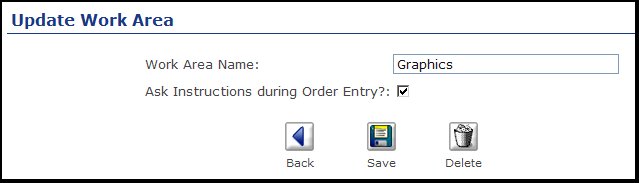
 Save button to save your changes.
 Back button to exit without saving your changes.
 Delete button to delete this stock purpose.
 Assign. Your screen should change to look like this: