|
|
This report shows all items shipped between the two dates entered. You can limit the report to one Customer and/or one Location. There are grand totals after each item.
- From the Main Menu, select Reports -> Inventory -> Item Shipments.
- Your screen should look similar to this:
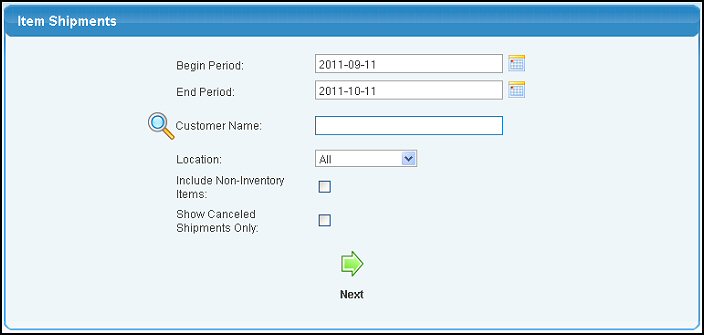
- Enter data into the following categories to narrow your report:
- Begin Period and End Period: - Select the date range from which you want to search. You can either enter the date manually or click the
 Calendar button to bring up a calendar. Calendar button to bring up a calendar.
- Customer Name: Enter Customer Name (or any portion of the name) to bring up a drop-down of possible matches. If you want to search by phone, zip code, etc., use the
 Lookup button for detailed searches. Lookup button for detailed searches.
- Location: - Select a location from the pull-down list or select ALL to include all locations in your report.
- Include Non-Inventory Items: - Check this box if you want to include items shipped that are not included in your inventory.
- Show Canceled Shipments Only: - Check this box to create a report showing ONLY the items that were on cancelled shipments.
- To produce the report, click on the
 Next
button. Your screen should look similar to this: Next
button. Your screen should look similar to this:
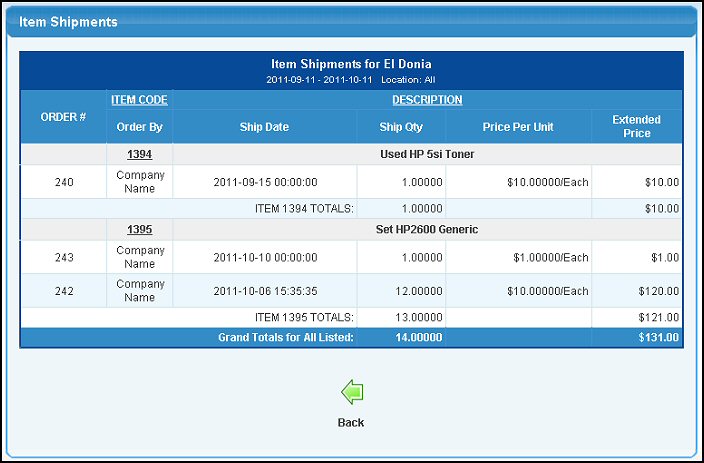
- To sort the report, click on the column headers (Item Code or Description).
- If your selection on the first screen was for cancelled only, your screen should look similar to this:
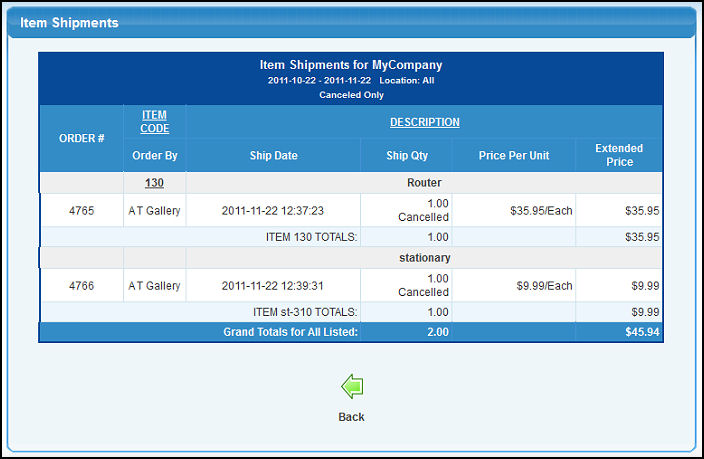
- To export the report in a Microsoft Excel® format, click on the Export button in the Quick Links section of the footer at the bottom of the page.
- To return to the previous screen, click on the
 Back button. Back button.
| |
|