|
|
Add or edit information on the locations where inventory is stored - different buildings, different warehouses or different plants. You must have at least one
location.
- From the Main Menu, select Admin -> Setup - Inventory -> Plant Locations.
- Your screen should look similar to this:
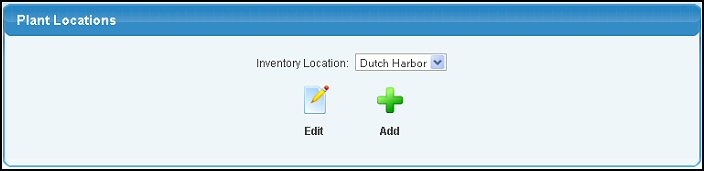
- Choose one of the following Options:
- Edit - Select an existing location from the pull-down list and click on the
 Edit button. Edit button.
- Add - To add a new location, click on the
 Add button. Add button.
- Your screen should look similar to this:
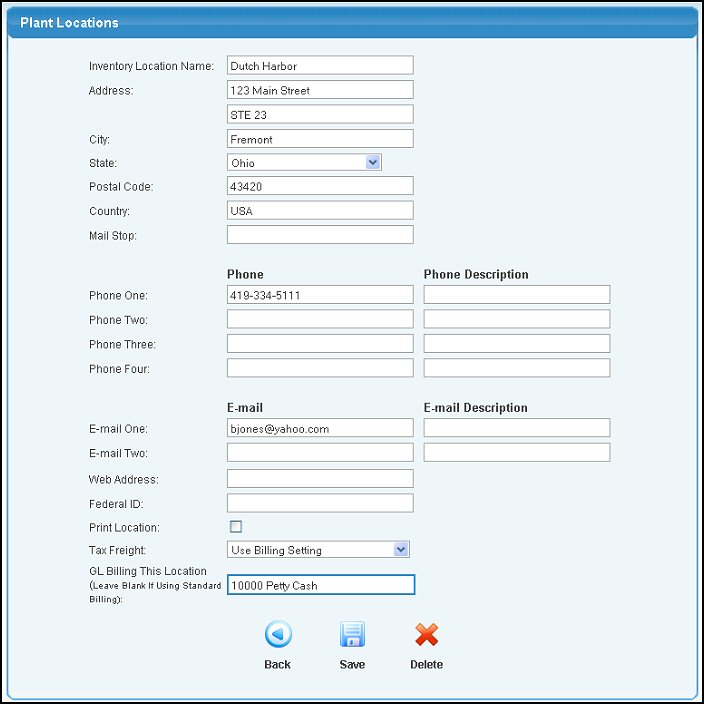
- Enter/Edit the information in the following categories:
- Inventory Location Name: Enter the name of the location as you want it to show in the pull-down lists in NolaPro.
- City/State/Postal Code/Country/Mail Stop: Enter the street address information for this Location.
- Phone: Enter up to four(4) telephone numbers(with dashes) and descriptions for this Location.
- Email: Enter up to two(2) email addresses for this Location.
- Web Address: Enter the Website address for this Location.
- Federal ID: (for US customers) Enter the US Employer's Identification Number (EIN).
- Print Location: (for NolaPrint customers) Check this box if this Location is a Print Location. You must have AT LEAST ONE of the locations check-marked as a print location in order for the updates of inventory to work correctly from the Printshop Module.
- Tax Freight: Select how the freight should be taxed.
- GL Billing This Location: Indicate the GL account related to this plant locations billing. Leave blank if you are using standard billing.
- To save your changes, click on the
 Save button. Save button.
- To delete an existing Location, click the
 Delete button. Delete button.
- To return to the previous screen WITHOUT saving your changes, click on the
 Back button. Back button.
| |
|