|
|
Use this section to edit or add a salesperson, or assign territories to salespersons. This information will include personal information and commission data.
- From Main Menu select Contacts -> Sales Personnel -> New or Edit Sales Personnel. Your screen should look similar to this if selecting Edit:
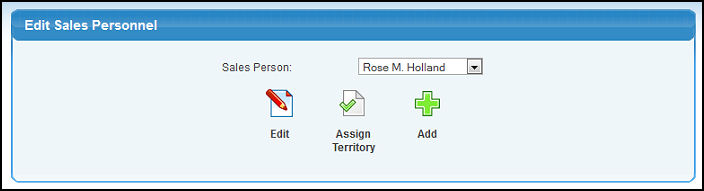
- If choosing
 Edit OR Edit OR  Add OR New Sales Personnel from the main menu, your screen should look similar to the following: Add OR New Sales Personnel from the main menu, your screen should look similar to the following:
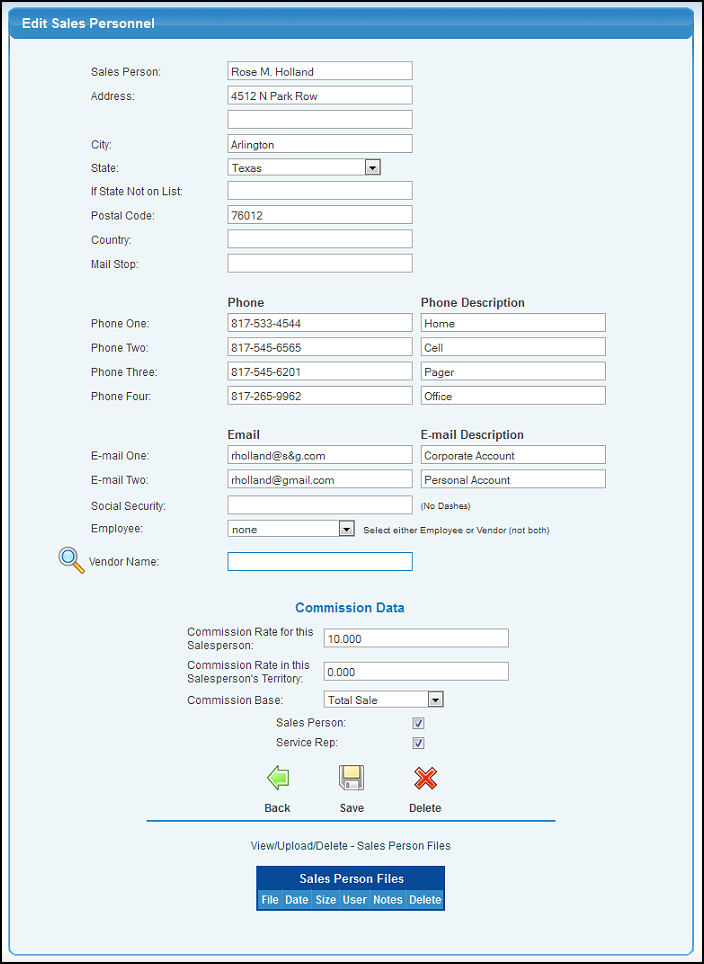
- Sales Person: Name of salesperson.
- Address: Two rows are provided for entering the complete address.
- City: City of sales person.
- State: Select from the drop-down list.
- If State Not on List: If your state is not available in the drop down list enter it here, otherwise leave it blank. If you type in a state the state pull-down must be blank.
- Postal Code: Zip or Postal Code.
- Country: Only needed if you operate in more than one country.
- Mail Stop: If this person works for a company which uses internal mail, then a Mail Stop code may be necessary to ensure delivery.
- Phone and Phone Description: There are four possible phone numbers that can be entered for this person, so a description field is provided to indicate what that phone is (cell, pager, fax, home, etc.).
- E-mail and E-mail description: There are two possible entries for E-mail address, so a description is provided to know how each is to be used.
- Social Security: Enter the social security number WITHOUT any dashes between the number groups.
- Employee: If this salesperson is ALSO on your regular payroll, then you can tie this salesperson record into the employee record by selecting the employee from the pull-down box.
- Vendor Name: If this salesperson is a vendor, enter the name (or partial name) to bring up a list of possible matches. If a vendor is chosen an employee cannot be entered in the previous field. Click the search button to the left to find the vendor using other criteria such as city or state.
- Commission Rate for this Salesperson: Percent commission (10% enter as 10).
- Commission Rate in this Salesperson's Territory: Percent commission (10% enter as 10).
- Commission Base: What number should the percentage commission be applied to.
- Sales Person: Check this box if this persons job is sales person.
- Sales Rep: Check this box if this persons job is sales representative.
- (If Editing) Click
 Back to return to the previous screen without saving. Back to return to the previous screen without saving.
- Click
 Save to save your changes. Save to save your changes.
- (If Editing) Click
 Delete to delete the sales person. Delete to delete the sales person.
- Select the Sales Person from the pull-down list.
- Click the Assign Territory button. Your screen should look similar to this:
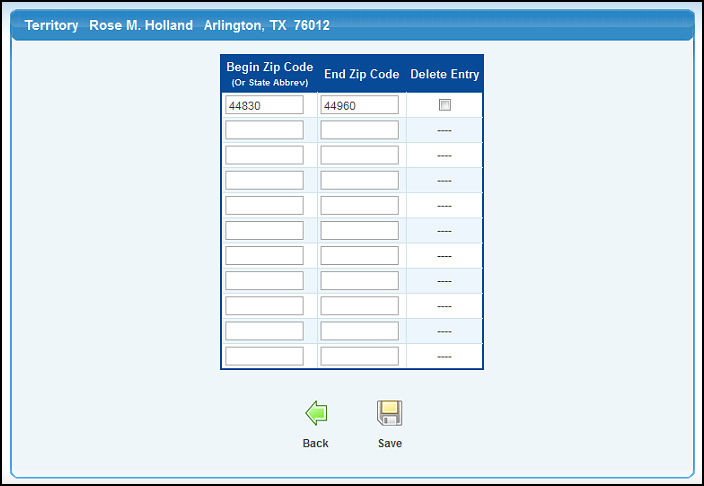
- Begin Zip Code (Or State Abbrev): Enter the beginning zip code for their territory (or if it covers an entire state, put in the state initials).
- End Zip Code: If you put in a beginning zip code, you must also put in an ending zip code.
- Delete Entry: If you are editing an existing entry, a check box will appear in the Delete Entry column. Checking the box before clicking on the SAVE button will cause those zip-code sets to be removed.
- Click the Save button to save changes.
- Click the Back button to return to previous screen without saving the changes.
| |
|